The Drag & Drop File Upload field allows users to easily upload multiple files via Contact Form 7. You can control file size, types, and upload limits with a clean drag-and-drop interface.
How to Enable the Addon #
Before using the Drag & Drop field:
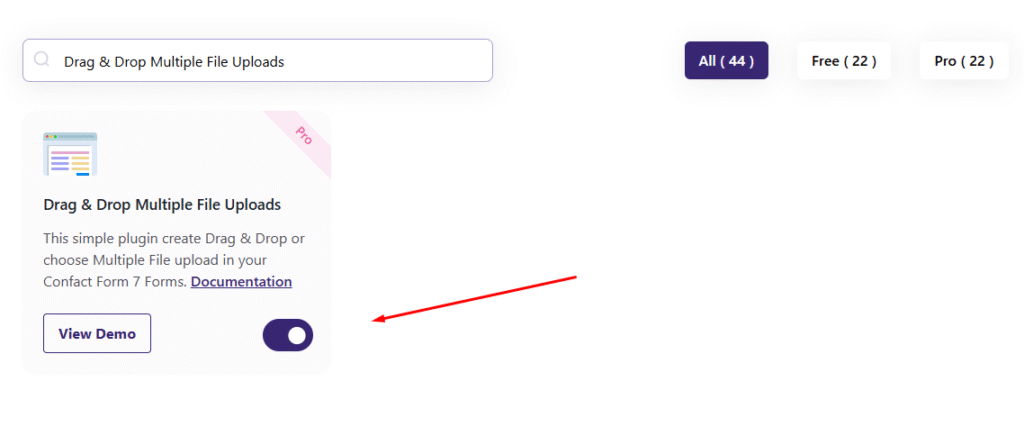
- Go to UACF7 Addons → All Addons in your WordPress dashboard.
- Scroll or search for “Drag & Drop Multiple File Uploads” in the list.
- Click the toggle to Enable the addon.
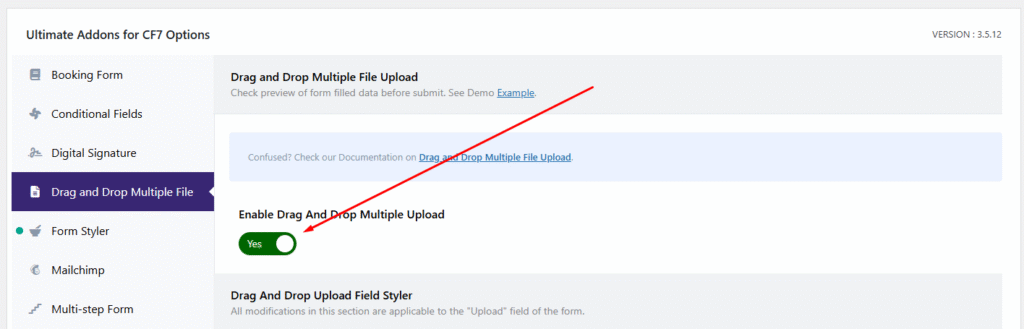
Once enabled, the field will become available in your Contact Form 7
How to Add the Drag & Drop Field to a Contact Form #
Go to Contact → Contact Forms and open the specific form where you want to add the drag-and-drop field. Scroll down to the “Addons for Contact Form Settings” section. Here, you’ll see a list of features you’ve enabled globally. Look for “Drag and Drop Multiple File” in that list and make sure it’s enabled for this form — this step is important to ensure the feature works properly.
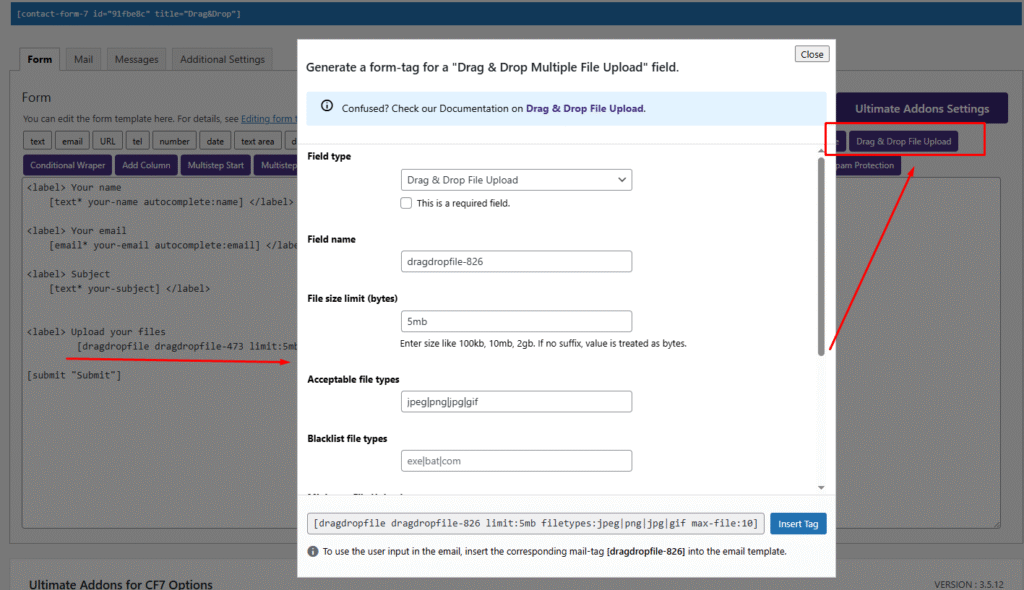
After that, Look above the form editor — you’ll now see a new tag button labeled “Drag & Drop File Upload.”
Click the button to open the field settings pop-up.
Fill in the required settings like:
- Field name
- File size limit
- Accepted or blacklisted file types
- Min/Max file upload limit
Click Insert Tag — this will automatically add the form tag to your Contact Form editor. screenshot below
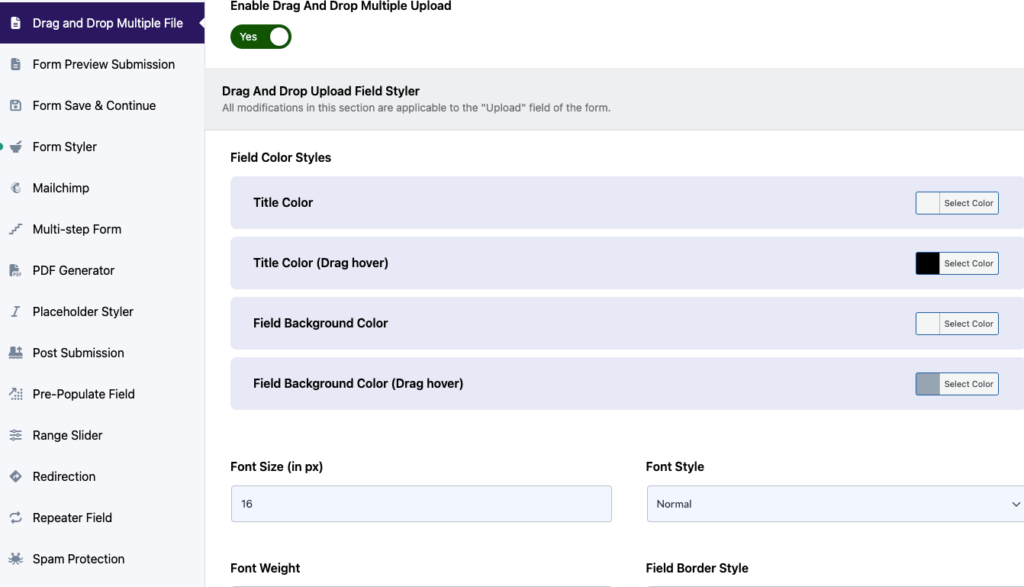
Drag & Drop Upload Field Styler #
The Drag & Drop Upload Field Styler provides a range of design customization options specifically for the upload field. All changes made in this section apply only to the appearance of the drag-and-drop area within the form.
Form Preview #

When i activate the addon, this message apears: Deprecated: The id property of the WPCF7_ContactForm object is no longer accessible. Use the id() method instead. in /var/www/wp-includes/functions.php on line 6121