In this article, we will explain how to style all your Contact Form 7-based forms from one place with the help of our Pro addon called “Global Form Styler for Contact Form 7”.
Watch Complete Video #
If you’re still unsure, we recommend watching our video tutorial that explains how to enable Global Contact Form 7 Custom Style in WordPress step-by-step.
What is Global Form Styler for Contact Form 7? #
The Global Styler is an add-on that allows you to uniformly style all your Contact Form 7 forms from a single location. Typically, our free add-on: form styler requires you to style each form individually. However, if you have multiple forms, say 10, on your website and wish to apply the same style to all of them, editing each form separately is impractical. This is where the Global Styler add-on becomes extremely useful.
In this tutorial, we will demonstrate how to activate this add-on and effectively utilize it.
What’s needed #
- Make sure Contact Form 7 and Ultimate Addons for Contact Form 7 are installed on your WordPress site.
- Download & Install Ultimate Addons for Contact Form 7 Pro from our Client Portal.
- Go to Ultimate Addons -> All Addons menu in your WordPress Dashboard and enable the Form Styler (Global) checkbox. This will enable the “Contact Form 7 Global Style addon” settings.

Creating Global Form Styles #
- After installation, go to Ultimate Addons -> Settings -> Global Form Styler. This will take you to the form styling page.
- Assuming you have published pages with the forms embedded, any changes made in the global section will affect all forms.

You’ll find four sections here: Label Options, Input Field Options, Submit Button, and Custom CSS Option.
- Label Options: Modify the header/label of each input field. You can change the font color, size, weight, background color, and font family all in one place. You can use hex color codes or the color picker, while the font size should be specified in pixels (px).
- Input Field Options: Customize the font properties within the text fields. You can also modify the border color, size, and radius around the field.
- Submit Button Options: Change the button’s color, size, padding, background, and border properties. You can also adjust its font properties like in the previous sections.
Custom CSS #
If you’re comfortable using CSS, you can add your own modifications to the forms. Simply target a specific element using its CSS class or ID (using ‘.’ for classes and ‘#’ for IDs) and make the desired changes.

Once you’ve finished modifying the form elements, click Save Styles to apply the changes.
Create Form #
Go to Contact -> Add New in your WordPress Dashboard to create a new form.
Overriding Global Styles for Specific Forms #
If you want a specific form to have a different design, you can do this using our free add-on: form styler. Refer to the article for the complete style setup process for individual forms.
Add Other Fields #
After adding styles, include any additional form fields you need, such as name, email, address, etc.
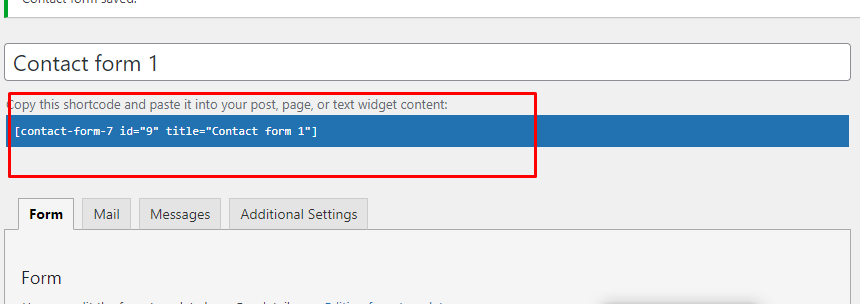
Copy the Shortcode #
Once your form is ready, click Save and copy the Contact Form shortcode.
Time to Publish #
Paste the shortcode wherever you want to display the form (Pages, Posts, Custom Post Types, or Sidebars). The form on the front end should reflect the design you created using the Global Styler.
Still Not Clear? Please contact us. Open a ticket from here.