If you want to create a form that displays WooCommerce products and, upon submission, automatically adds the selected product(s) to the cart while redirecting users to either the cart page or checkout page, you can achieve this using the UACF7 WooCommerce Checkout addon alongside Contact Form 7.
This feature streamlines the purchasing process by allowing users to select products directly within the form and proceed to checkout seamlessly, improving conversion rates and user experience.
Video Tutorial #
What is Contact Form 7 WooCommerce Checkout Feature? #
The WooCommerce Checkout Feature for Contact Form 7 allows you to seamlessly integrate WooCommerce with Contact Form 7, enabling users to add products to the cart and proceed to checkout directly from a form submission. This feature is perfect for custom product inquiries, service-based orders, event registrations, and pre-order forms without requiring a full WooCommerce checkout page.
- Add Products to Cart on Form Submission – Automatically add single or multiple WooCommerce products when a form is submitted.
- Redirect Users to Checkout – After submission, customers can be redirected to WooCommerce checkout, cart, or a custom URL.
- Conditional Product Selection – Show or hide products dynamically based on user input using conditional logic.
- WooCommerce Payment Gateway Support – Works with PayPal, Stripe, Razorpay, and other WooCommerce payment methods.
- Works with multi-step forms – Guide users through custom order forms before finalizing checkout.
- Custom Email Notifications – Send personalized order confirmation emails to both users and admins.
What’s Needed #
- Ensure that both Contact Form 7 and Ultimate Addons for Contact Form 7 are installed on your WordPress site.
- Download and install Ultimate Addons for Contact Form 7 Pro from our client portal.
- Activate your license key.
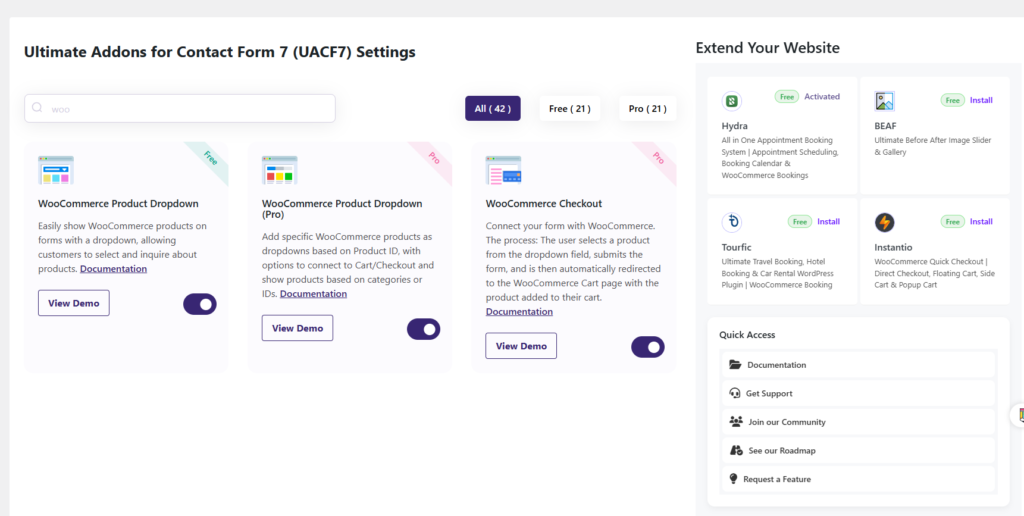
- Go to Ultimate Addons > All Addons menu in your WordPress dashboard and enable both WooCommerce Product Dropdown and WooCommerce Checkout Checkboxes.
How to Integrate WooCommerce Checkout with Contact Form 7? #
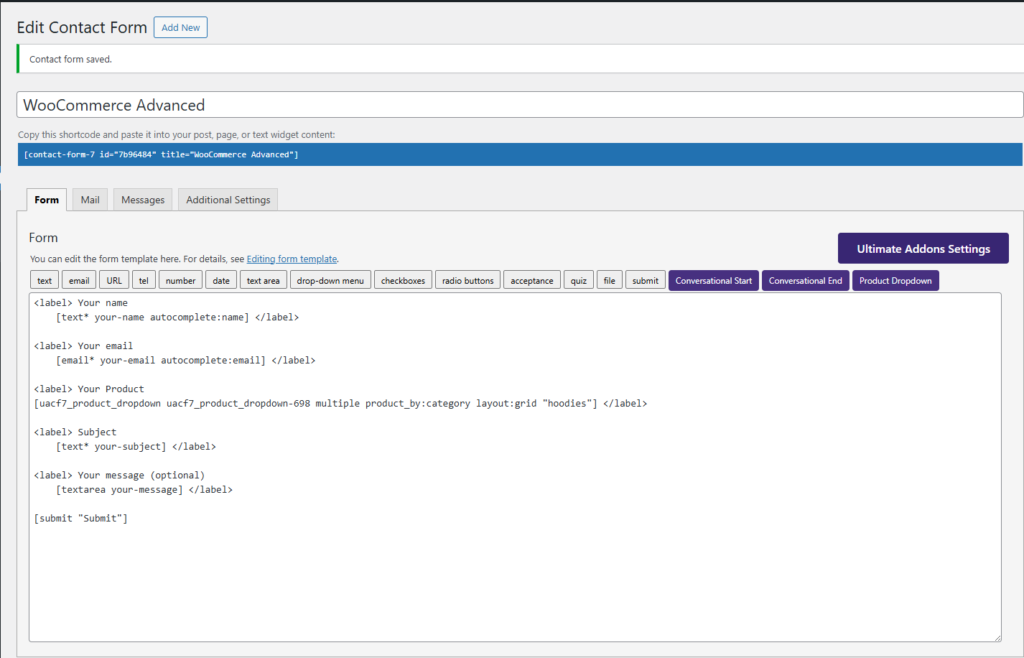
Step 1: Create a Form with Product Dropdown #
To use the WooCommerce Checkout feature with Contact Form 7, you first need to create a form that includes a Product Dropdown. This will allow users to select a product within the form before proceeding to checkout.
The Product Dropdown will display WooCommerce products, and once the form is submitted, the selected product(s) will be automatically added to the cart. Users will then be redirected to either the cart page or checkout page, based on your settings. This integration provides a seamless shopping experience directly from your form.
To learn more about product dropdowns, check this documentation.
Step 2: Configure the WooCommerce Checkout Settings #
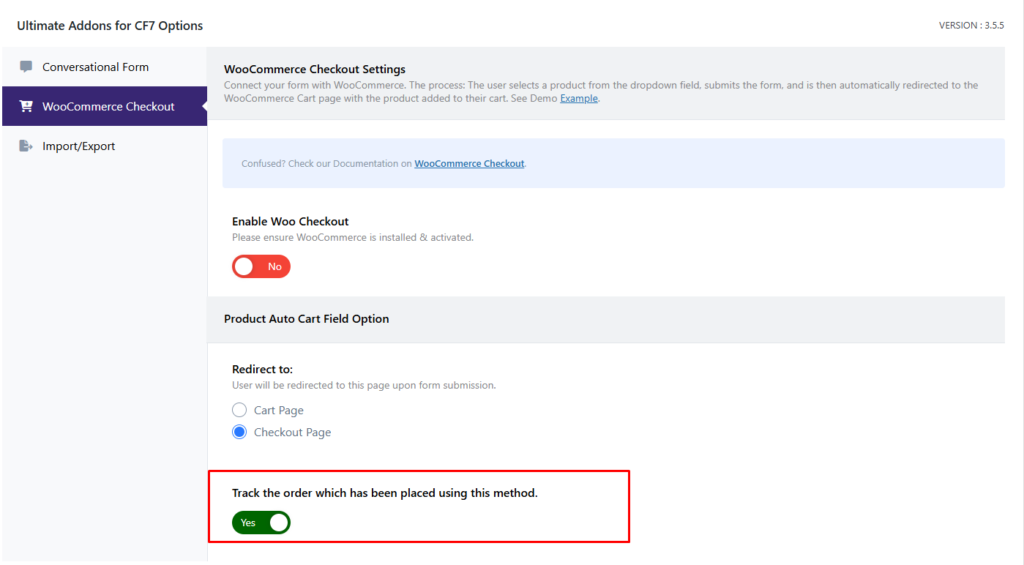
After creating the form, navigate to Ultimate Addons for CF7 Options > WooCommerce Checkout and enable the “Enable Woo Checkout” option.
Please note that without enabling this option, the WooCommerce checkout functionality will not work. This setting ensures that selected products from the form are automatically added to the cart upon submission, allowing users to proceed directly to the cart or checkout page.
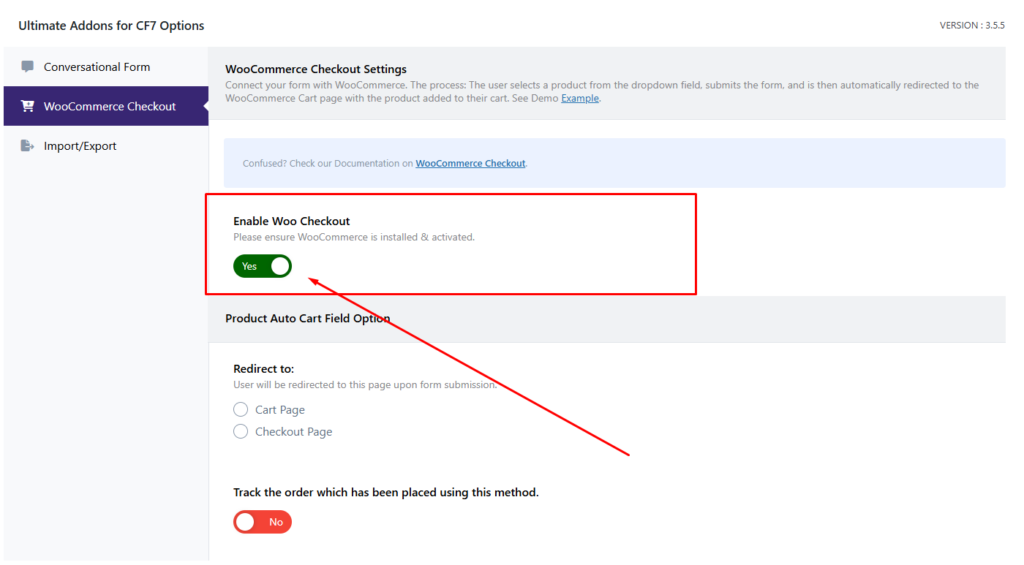
After enabling the option, you will find some option bellow the “Enable Woo Checkout” option. Let’s talk about the options.
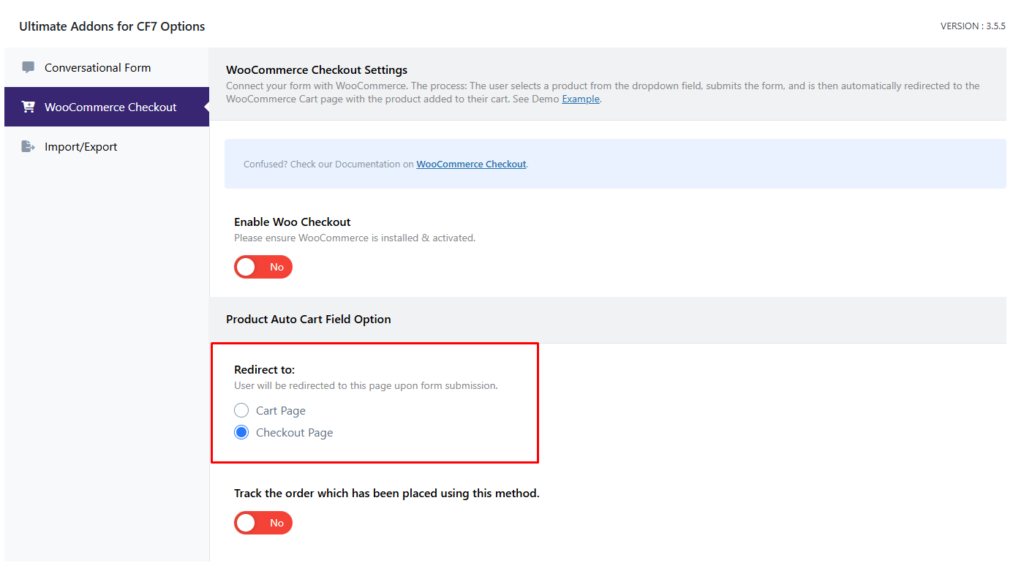
Redirect to #
With this option, you can choose where users will be redirected after form submission. You can set it to either:
- Cart Page: Redirect users to the WooCommerce cart page, where they can review their selected products before proceeding to checkout.
- Checkout Page: Send users directly to the checkout page, allowing them to complete their purchase immediately after form submission.
This feature provides flexibility in the shopping experience, ensuring users are guided smoothly through the purchasing process.
Track the order which has been placed using this method #
With this feature, you can track products ordered through Contact Form 7 form submissions, ensuring that each order is properly recorded and managed. When a customer fills out a form and submits their order, the selected WooCommerce products are logged, allowing you to easily monitor, process, and follow up on purchases.
Step 3: Testing the Form Settings #
After configuring all the settings, it’s time to test the form to ensure everything is working as expected. Fill out the form step by step, check if the fields are displaying correctly, and verify that the form flow is smooth.
Live Example of CF7 Checkout #
If you want to see how the WooCommerce checkout works in real-time, you can check out our live demo form at the following link. This interactive demo allows you to experience how frontend post submission works.
Click here to test the PDF WooCommerce checkout addon in action!
Still Not Clear? Please contact us. If you are a free User, you can open a ticket from here. If you are a pro user, you can open a ticket from here.