In this article, we will try to explain how to set up Contact Form 7 Database Addon of Ultra addons for Contact Form 7 Plugin to view Contact Form 7 Data in Your WordPress Dashboard.
What’s needed #
- Ensure that both Contact Form 7 and Ultra Addons for Contact Form 7 are installed on your WordPress site.
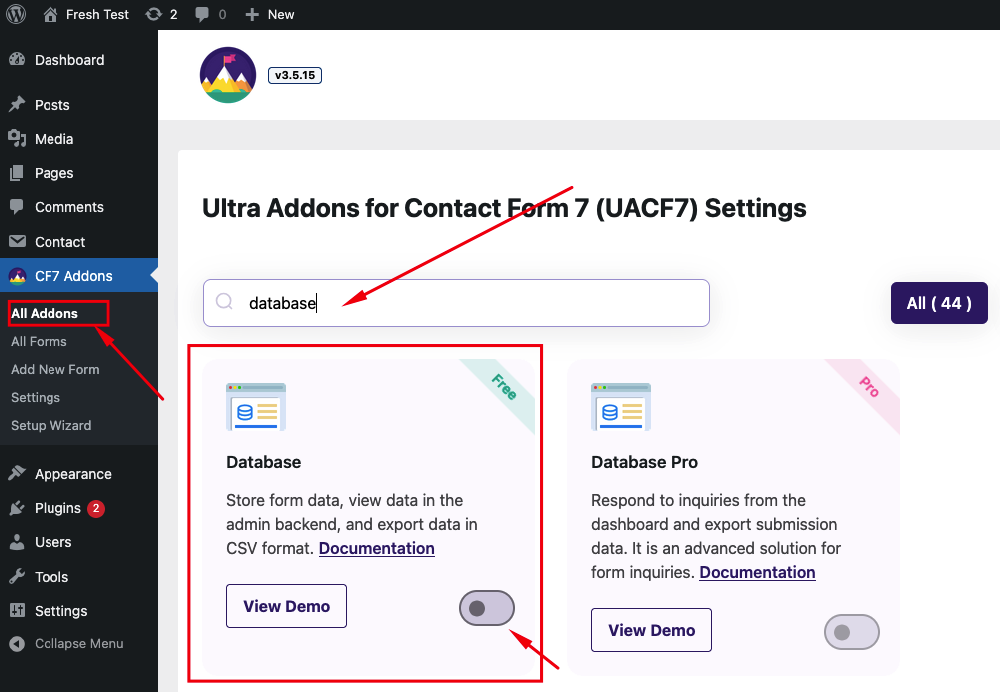
- Go to the Ultra Addons section in your WordPress Dashboard and enable the “Database” checkbox/toggle.
Contact Form 7 Save to Database – Live Example #
In this tutorial, we will show a step-by-step guide on viewing the CF7 database within the WP dashboard directly.
Visit our main demo to see all the supported fields for the Contact Form 7 Database addon.
What is Contact Form 7 Database Addon? #
The Contact Form 7 Database Addon is a feature for Contact Form 7 that allows you to save and manage all form submissions directly within your WordPress dashboard. Instead of relying solely on email notifications, this addon stores all submitted data in your website’s database, ensuring you never miss important information. You can view, manage, delete, and export the form data (e.g., as a CSV file) right from your WordPress admin panel.
Setting Up the Contact Form 7 Database #
Activate the Database Addon #
Once you’ve enabled the database addon (as described above), it will start saving all new form submissions. Please note that it won’t display any submissions made before the addon was activated.
View Submissions #
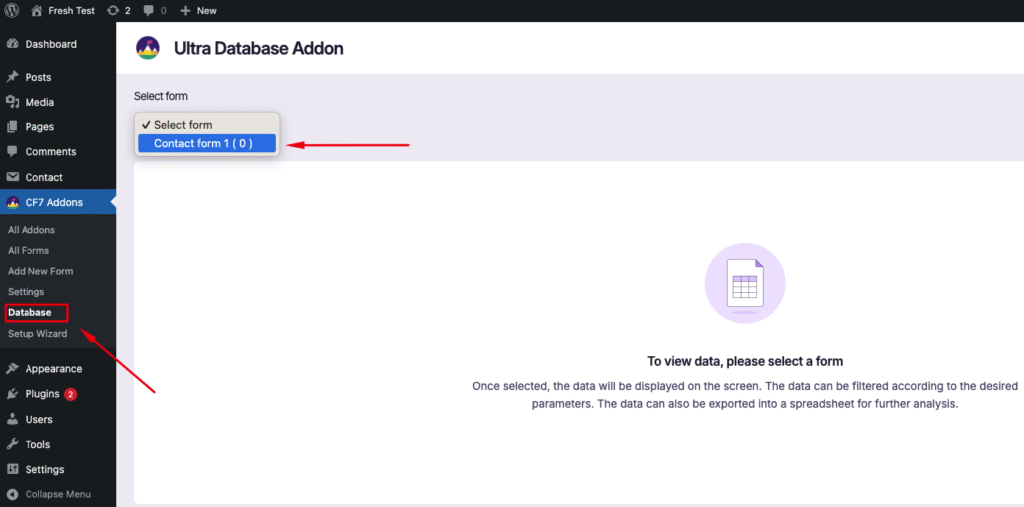
Navigate to Ultra Addons -> Database in your WordPress Dashboard. Select your existing form and click the “Submit” button. This will show all recent submissions for that form.
Manage Submissions: #
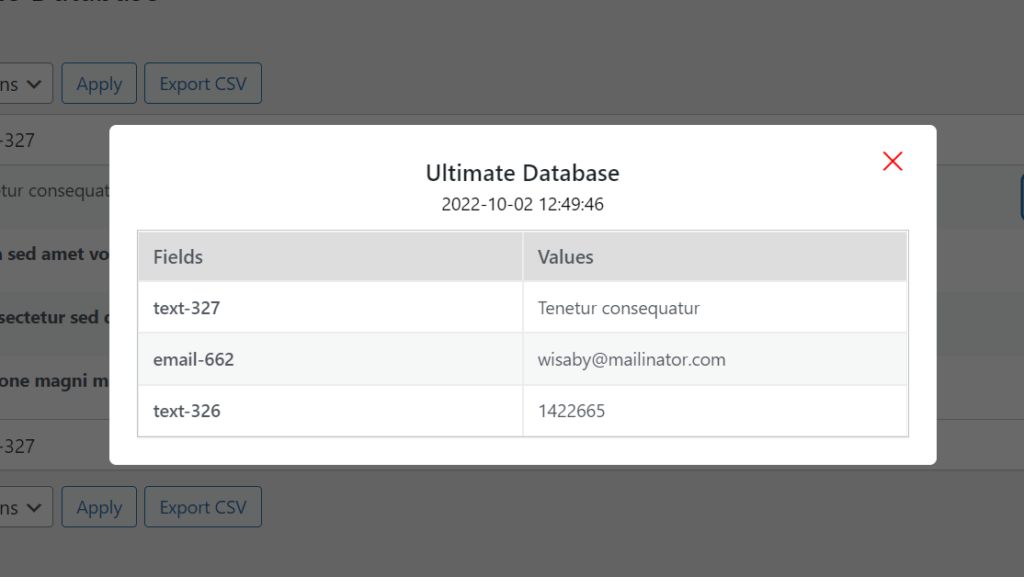
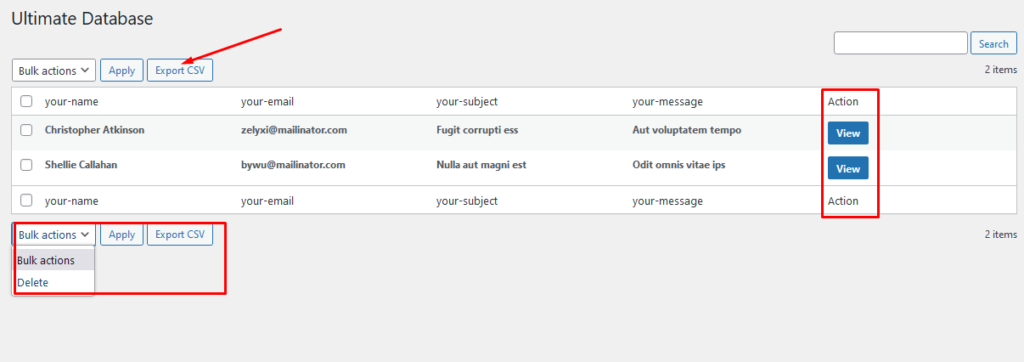
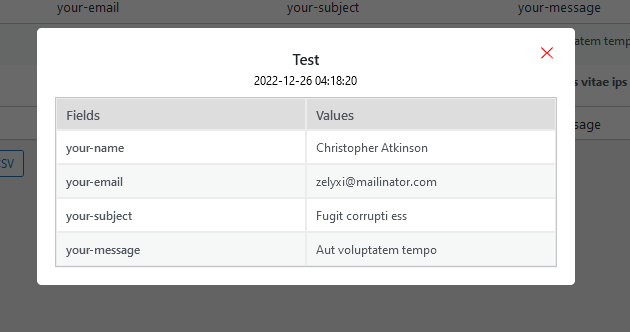
- Click the “View” button to see the details of each submission.
- Use the “Delete” option if you need to remove any entries.
- You can also export the data as a CSV file for easy access and analysis.
The Ultra Database Addon works seamlessly with other Ultra Addon features like Star Rating, Booking Forms, Range Slider, and more.
Watch Complete Video #
Looking for More Options? #
The Database Pro Addon offers advanced features like managing forms, replying to submission emails, and exporting data into various formats.
Still Not Clear? Please contact us. If you are a free User, you can open a ticket from here. If you are a pro user, you can open a ticket from here.