Table of Contents
Tour Setting – > Include/Exclude
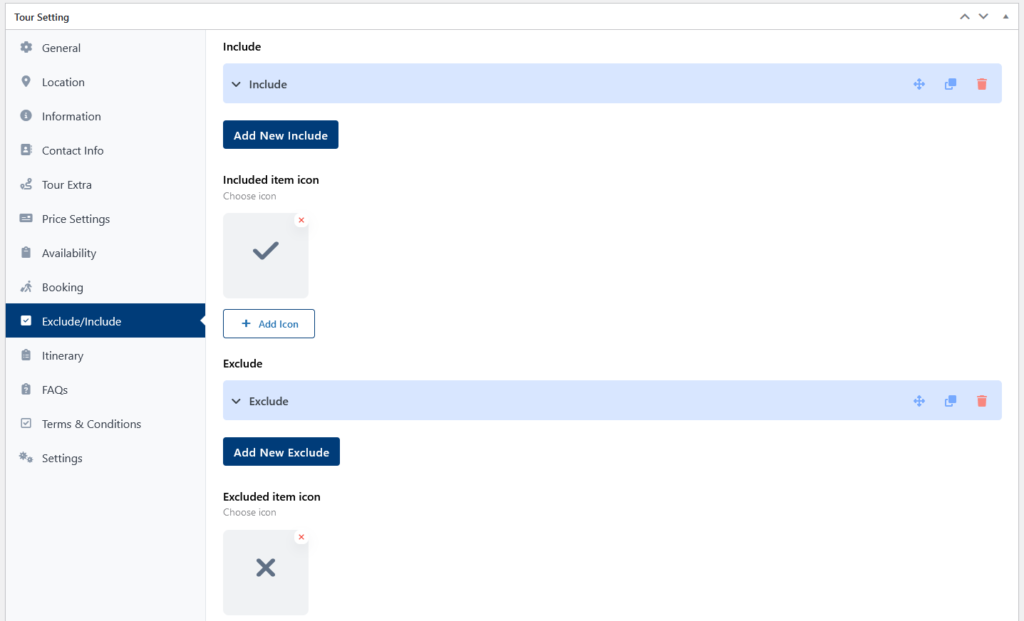
This section allows you to clearly communicate what’s included and excluded in your tour packages, preventing confusion for potential customers. It ensures your customers have a clear understanding of what’s covered within the tour price and what might require additional expenses.
Adding Inclusions and Exclusions #
- Click “Add New Include/Exclude”: There are two dedicated buttons for adding new inclusion or new exclusion. Clicking on any one of them will open a text field for you.
- Enter Your Item: Clearly state the included or excluded item/feature. Be specific to avoid ambiguity.
- Choose Icon: Select an icon that visually represents the inclusion or exclusion. This can enhance clarity and user experience. (Click “Choose Icon” to select an icon)

Background Image #
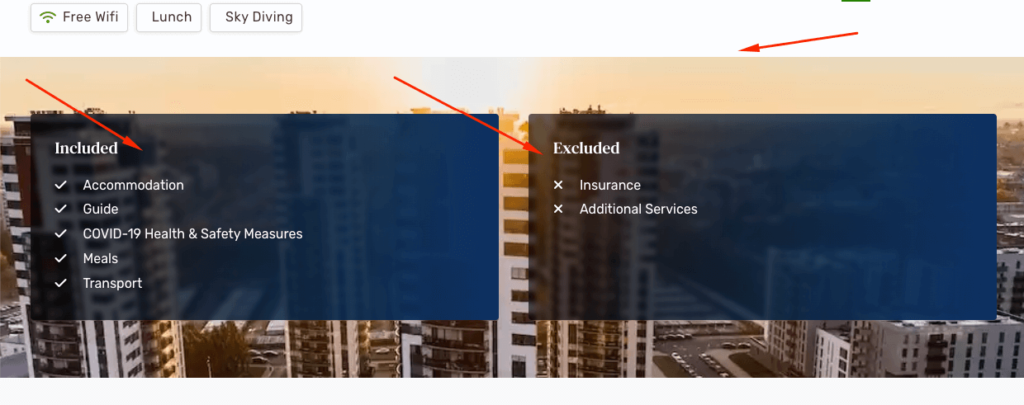
The image you choose here will act as the backdrop for the entire Include & Exclude section.
You can simply click on “Upload” to access the media library. Either choose an existing image within the gallery or upload the image you want as the background image.

Note: Background image is only for template 3
Video Tutorial
