Tourfic Settings > Integration
Tourfic also offers integration with popular automation services like Pabbly and Zapier.
Pabbly Setup #
On the first tab, you’ll be able to enable integration with Pabbly for hotels, tours, and apartments. For all three types of listing, you can enable Pabbly for:
- Creating and updating your tours, apartments, and hotels.
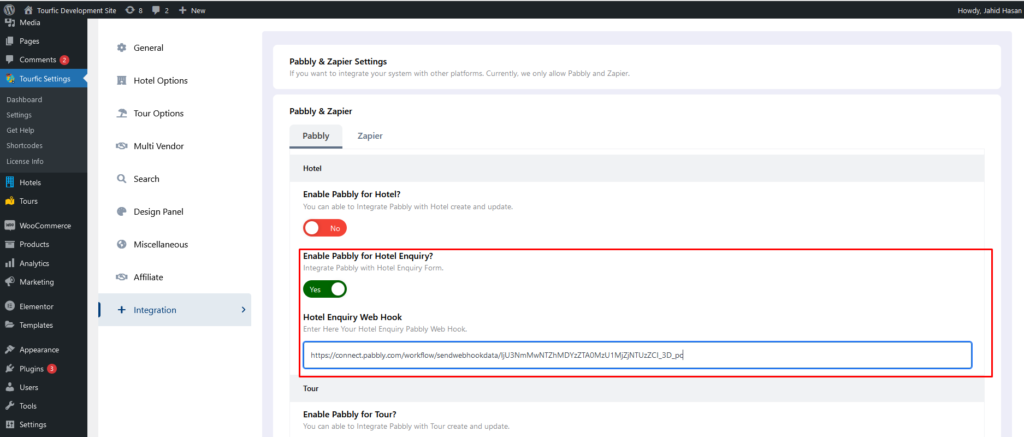
- Integrating Pabbly with your enquiry forms for all listings.
To Enable any of these connections, turn the necessary toggle on, and you’ll be given a new textbox to add the webhook for it.
Webhooks are essentially HTTP callbacks that make the automation processes work, allowing applications to communicate between themselves.
Here is how you can set up Pabbly. (Please integrate this section with the previous documentation’s How to connect with Pabbly.)
How to connect Pabbly with Tourfic? #
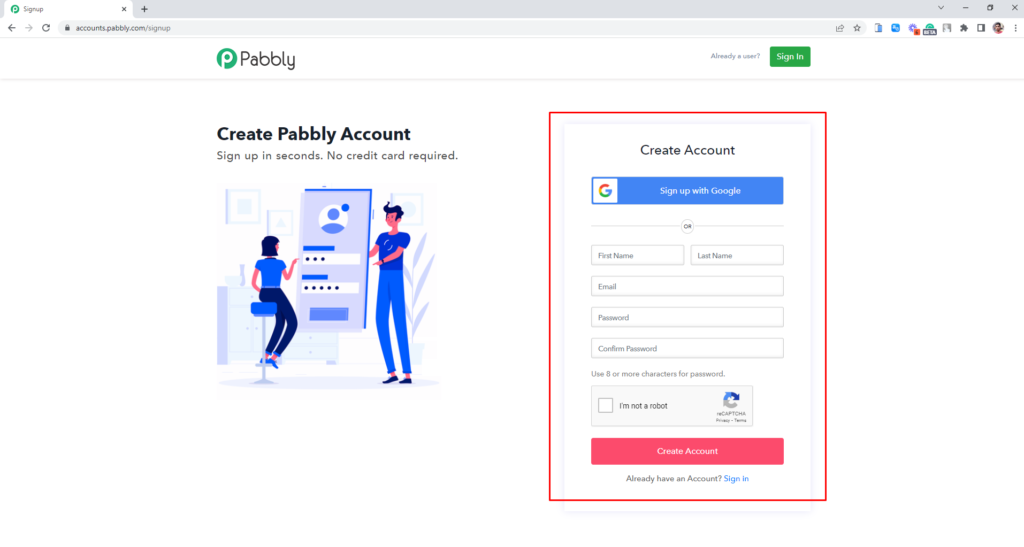
Step 1: Create a Pabbly account with your details or use a Google account through this URL. if you already have an account then login to the account here
Step 2: After login into the account then connect your Pabbly account by clicking Access Now.

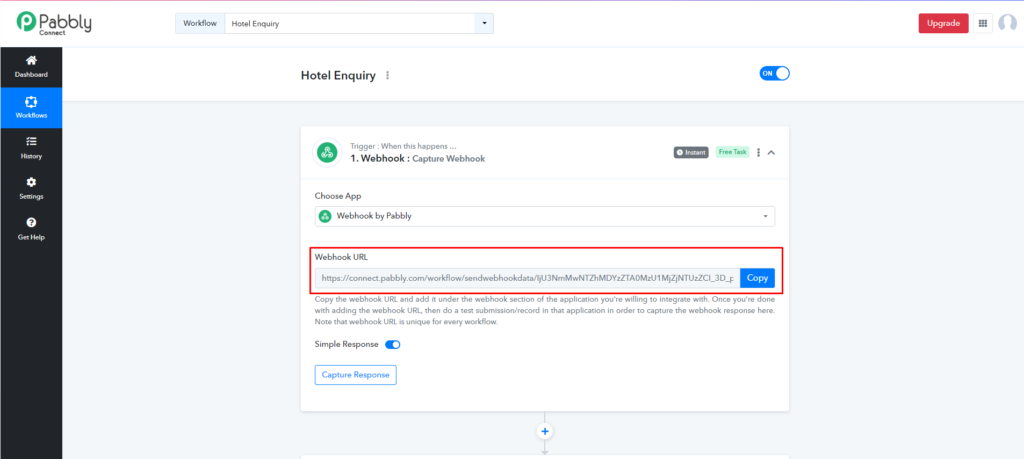
Step 3: Now you to create a new Workflow, Then set the name of the Workflow.


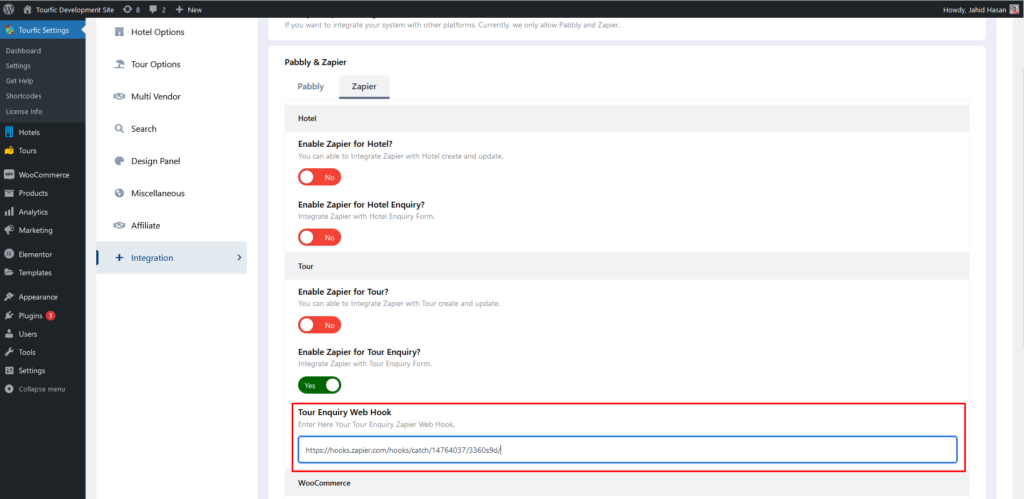
Step 4: Now you can copy the Webhook URL and paste it to tourfic settings page based on which feature you want to enable.
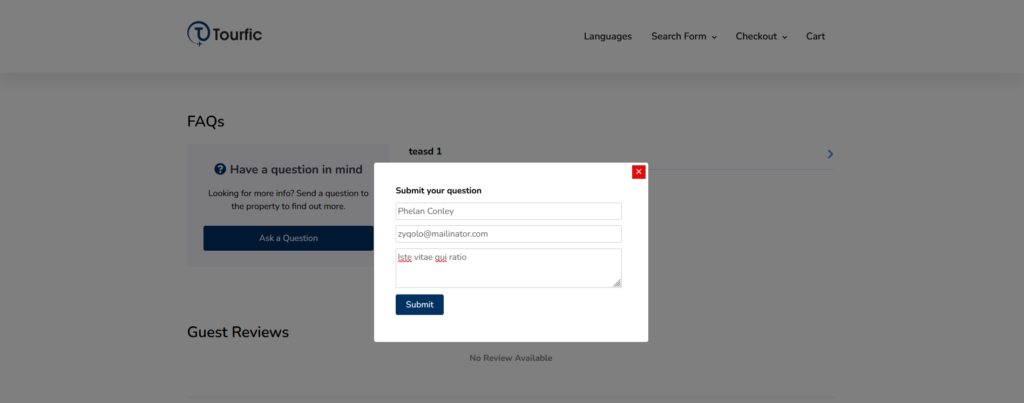
Step 5: Now Let’s check it by test trigger from the hotel single page inquiry. The inquiry response has been stored info Pabbly history.


Watch Complete Video #
Zapier Setup #
Once again, you can enable Zapier for your tours, hotels, and apartments in two aspects:
- Enabling it to integrate the creation or updates to any of your tour, hotel, or apartment listings.
- Integration it with the enquiry forms for each type.
The Zapier integration also offers two additional options for WooCommerce Integration:
- You can enable Zapier for booking, which would connect it to WooCommerce’s booking functionality.
- You can also integrate Zapier with WooCommerce’s new customers.
How to connect Zapier with Tourfic? #
Step 1: Create a Zapier account with your details or use a Google account / Facebook account / Microsoft account through this URL. If you already have an account with Zpier then Log in to your Zapier account through this URL


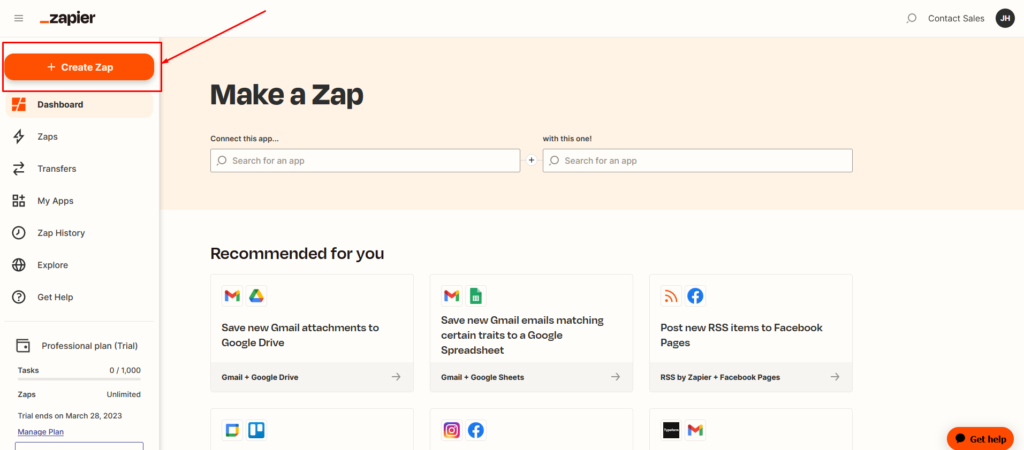
Step 2: Create a Zap by Clicking Create Zap.
-
- Access General Settings
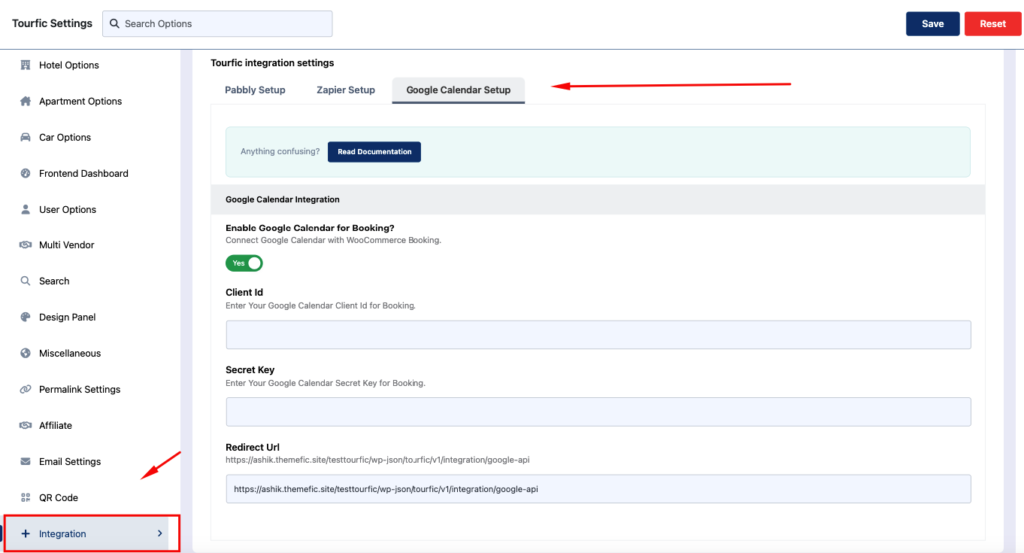
- Navigate to the Tourfic General Settings in your WordPress dashboard.
- Locate the Integration Tab
- Scroll down to find the Integration tab and click on it.
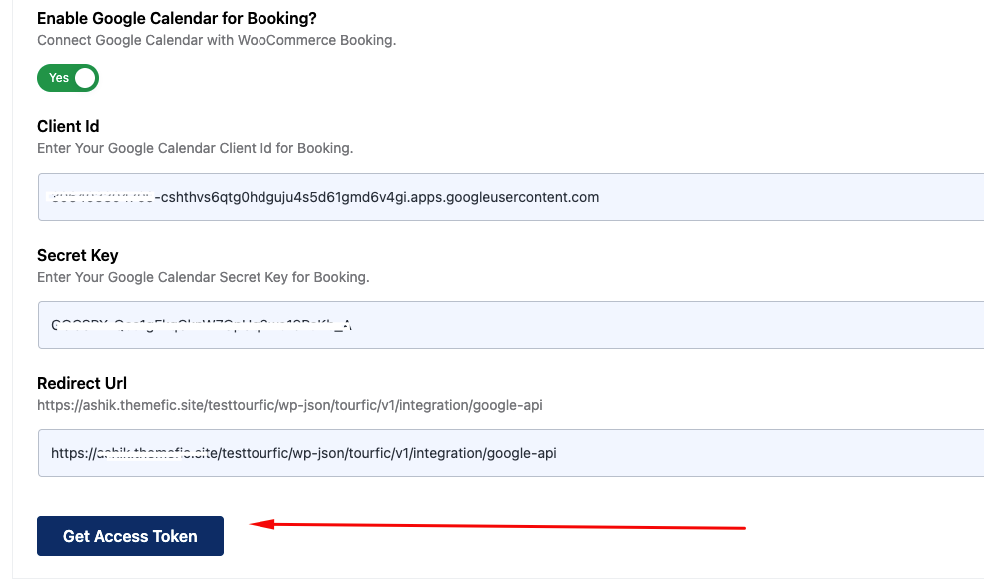
- Enable Google Calendar for Booking
- In the Google Calendar Setup section, enable the option:
“Enable Google Calendar for Booking?”
- In the Google Calendar Setup section, enable the option:
- Set API Details – Check Video
- Enter the required API credentials:
- Google API Key for Client ID
- Secret Key
- Note the Redirect URL, which will be automatically generated. You will need this URL when creating API keys in the Google Cloud Console.
- Enter the required API credentials:
- Save and Authenticate
- Save your settings and reload the page.
- After reloading, click on the Access Token button.
- Authenticate with Google by selecting the email address used to create the API keys in the Google Cloud Console.


Step 3: Now you can copy the Webhook URL. Paste the plugin settings page based on which feature you want to enable for zapier.

Step 4: Now Let’s check it by test trigger from the tour single page inquiry. The inquiry response has been stored info zapier history.

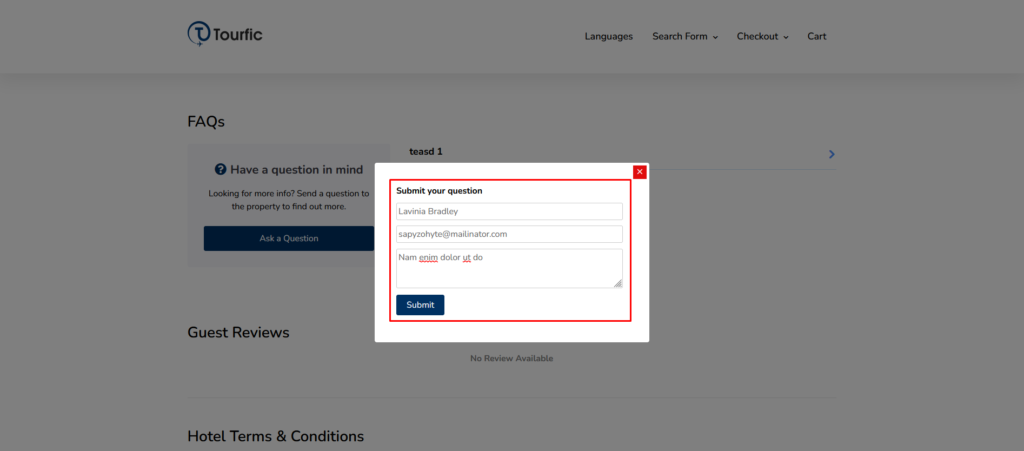
Step 5: After Submitting a test inquiry from a single tour. You can click the Test trigger for your trigger response. You can see your user-submitted information showing accordingly.


Step 6: Now you can able to connect the trigger response with 5000+ apps. Checkout the Zapier official Documentation
Watch Complete Video #
If you are still confused, we suggest you watch this video. In this video, we tried to describe the whole step of How to setup Zapier on Tourfic Plugin:
Still Not Clear? Please contact us. If you are a free User, you can open a ticket from here. If you are a pro user, you can open a ticket from here.
Google Calendar Setup #
This document outlines the steps to integrate and synchronize Tourfic booking details with Google Calendar. This integration ensures all bookings are automatically updated in your calendar, allowing for centralized and efficient schedule management.
To enable seamless synchronization of bookings between Tourfic and Google Calendar, follow these simple steps:
How do you connect your calendar to Tourfic for Booking details? #
Sync Booking Data #
- Access General Settings