Manager roles are quite crucial in Tourfic’s plugin suite. They can perform vital tasks like managing vendors if the admins provide them with the permissions. This documentation will illustrate the manager’s role and how they can navigate the front end.
The Dashboard #
The dashboard is where a vendor will be able to see an overall summary of different services and financial reports.
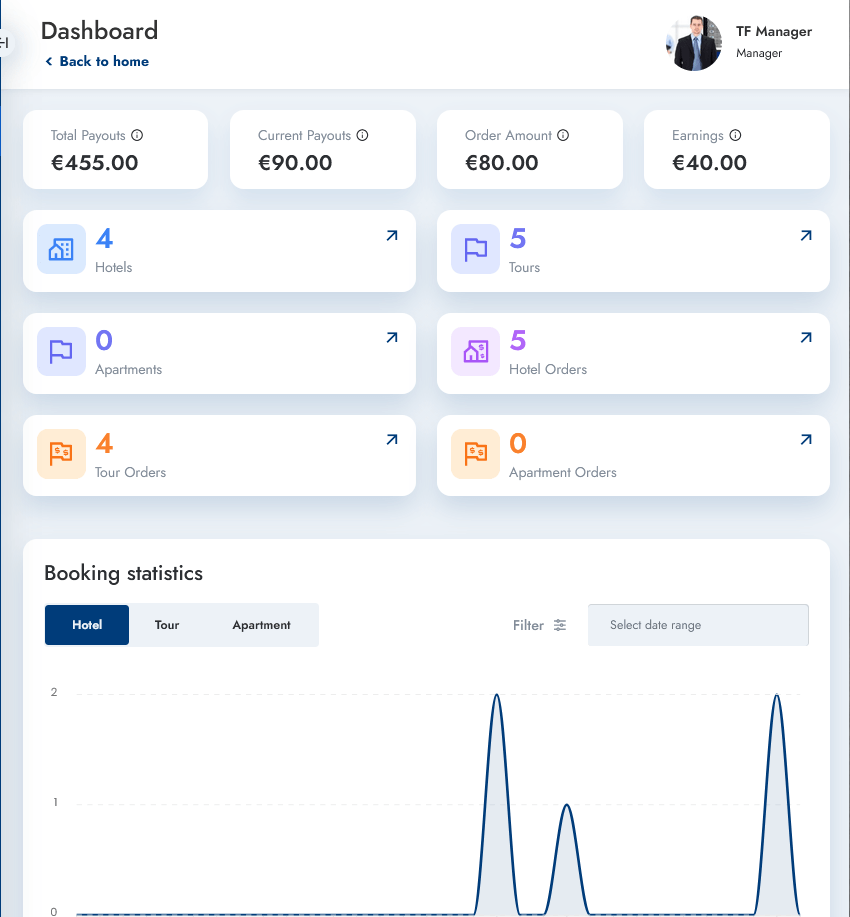
- The topmost section will show a list of financial stats — total payouts, payouts, and order amounts for the current month, and the commissions or earnings.
The section below contains the total number of tours, hotels, apartments, and orders. You can use the graph at the bottom to look at trends for different periods of time (changeable through the Filter button).
Hotels, Tours, and Apartments Sections #
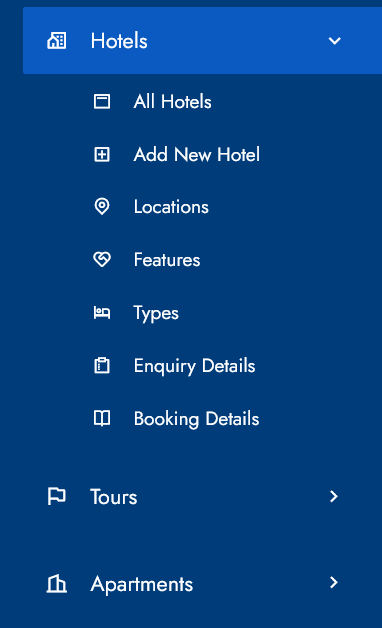
If the admin provides you with the permissions, you can modify hotels, tours, and apartments, change the taxonomies, add locations, features, types, and so on. This is dependent on the permissions for each manager.
Find a detailed guide to modify these sections here.
Vendor Management #
Clicking on the Vendor Management tab will take you to the All Vendors section by default.
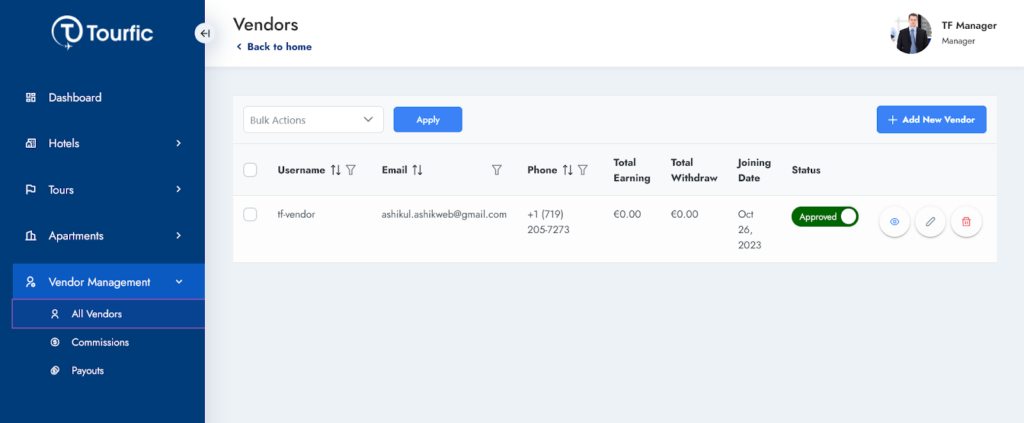
- In this section, you can see the total list of the available vendors on the website. Additionally, it’ll show the earnings and withdrawals for each of them.
- To add new vendors, you can click on the Add New Vendor button and input the necessary details from the pop-up there.
- You can also toggle the Approval status of each vendor here. When it’s turned off, a vendor won’t be able to operate.
- Clicking on the view button next to each vendor will take you to their details page, while the edit button directly allows you to edit things. This section will provide a detailed overview of a vendor and a summary of their earnings, along with a visual graph.
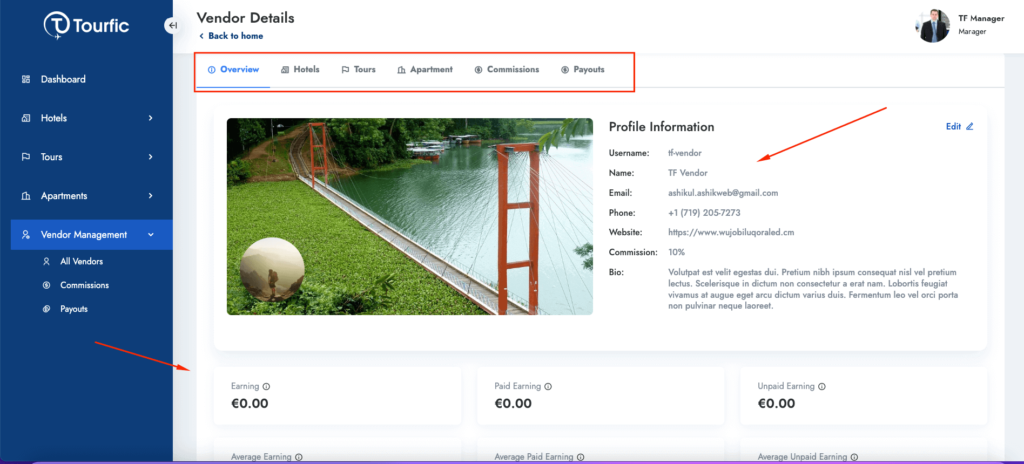
If you have permission, you can add and manage the hotels, tours, and apartments for a specific vendor from this section. In addition, the Commissions and Payouts tabs allow you to check the commission amount and add payouts for a vendor.
This is beneficial if you want a particular vendor’s commissions and payouts section within reach.
Commissions #
The commissions section views the necessary information for each order, including the dates and financial stats.
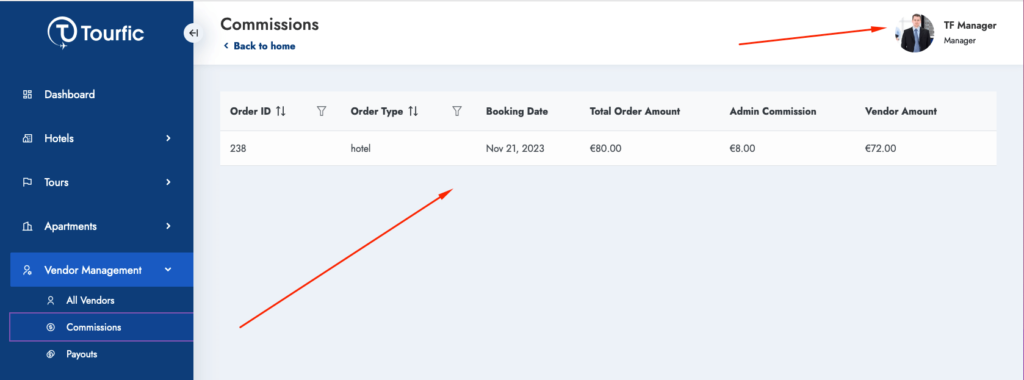
- The order ID uniquely identifies each order, followed by the order type and its date.
- The other portion contains the total order amount and also shows the admin’s commission, followed by the vendor’s amount from the total sum.
Payouts #
The payouts section allows you to add payouts for a vendor and approve them. Additionally, vendors can also request payouts, which you can choose to approve as the manager.
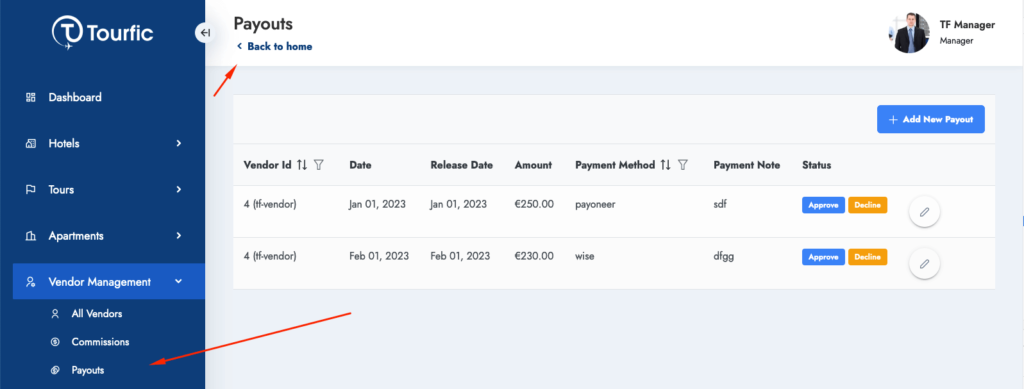
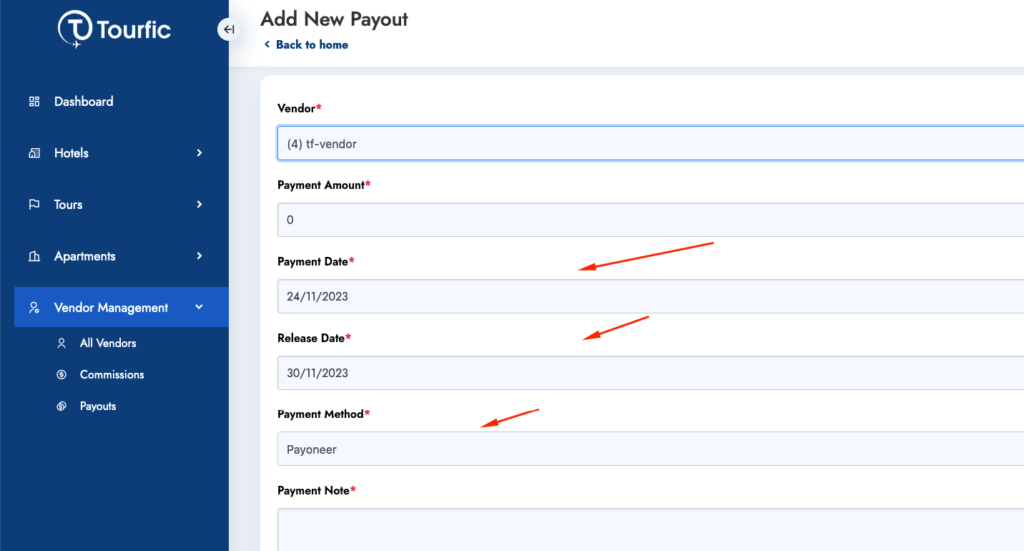
To add a payout, click on the Add New Payout button, and you’ll be presented with the following pop-up. Select the vendor from the dropdown list, followed by the payment amount, payment and release dates, and the payment method of choice.
Modifying the Manager’s Profile #
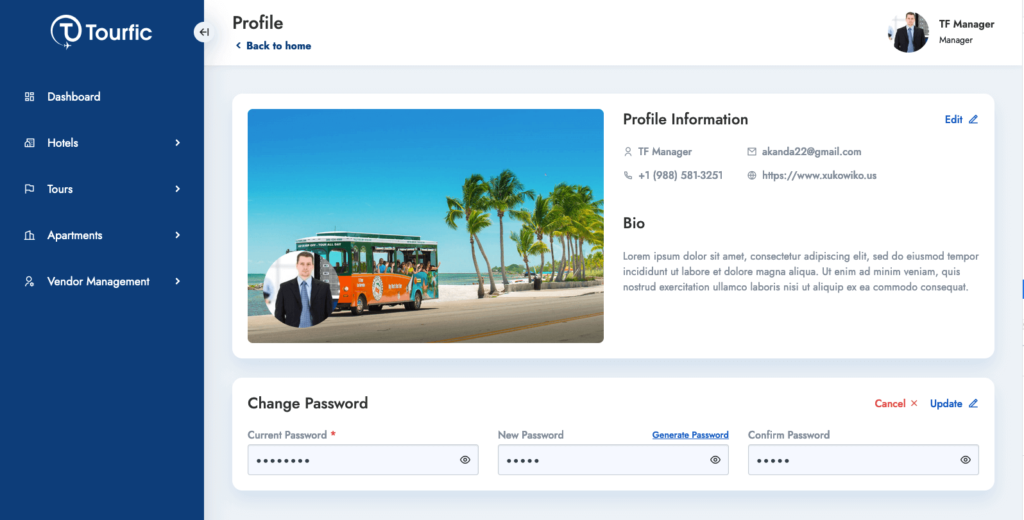
If you want to change your profile details or your account’s password, click on your profile icon and visit your profile. From there, you’ll be able to make any necessary changes.
