Hotel Settings Layout
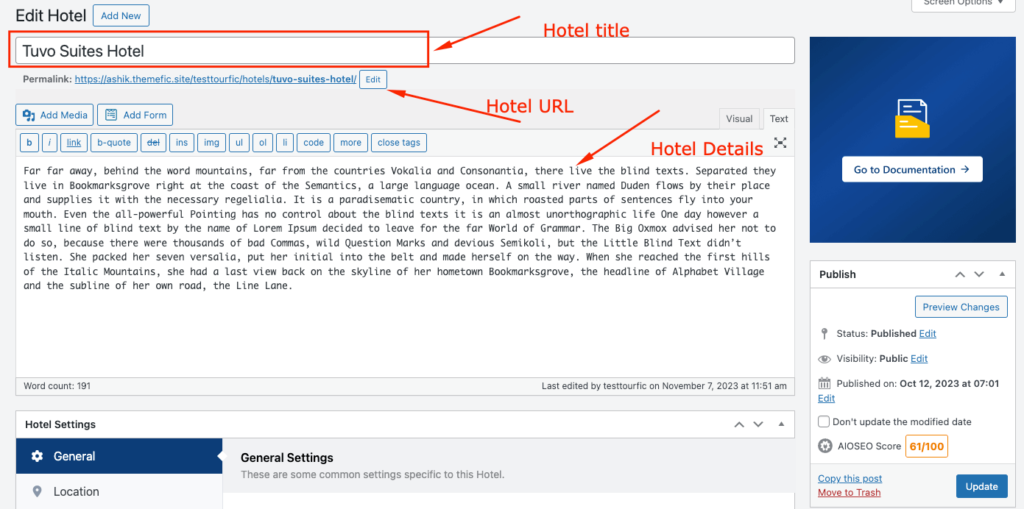
The “Add Title” part is self-explanatory. After adding the hotel title, a default permalink will appear right underneath. However, you have the option to customize the URL to your liking.
Additionally, you can add necessary descriptions about the hotel in the description box below.

Template Preview
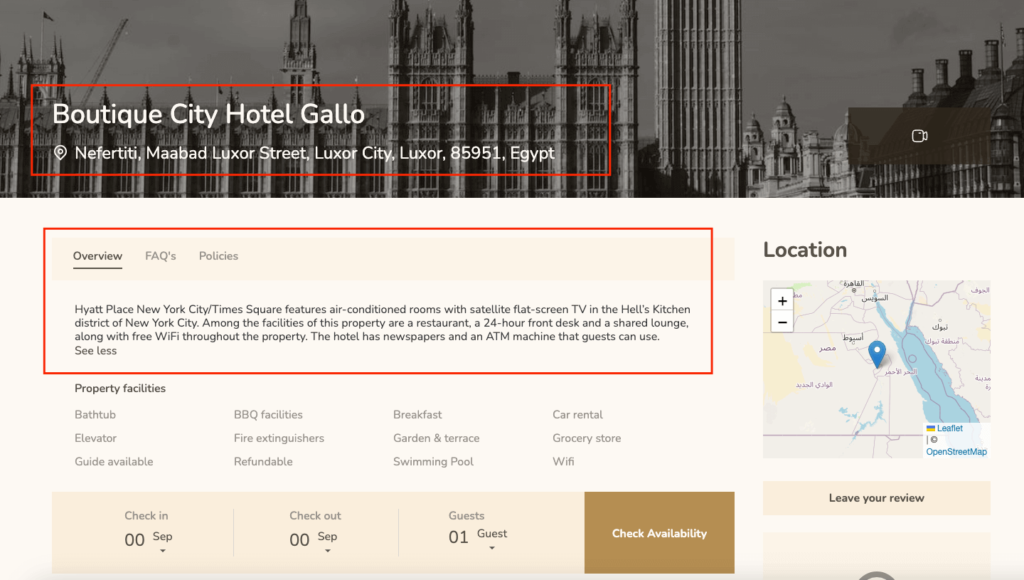
The descriptions will look like this on the front end (depending on the applied template):

Location, Features, Types, Features Image
Hotel Location
Like hotel title and detailed information, the location of the hotel is also mandatory. This is crucial for categorization in the back end and for searching in the front end.
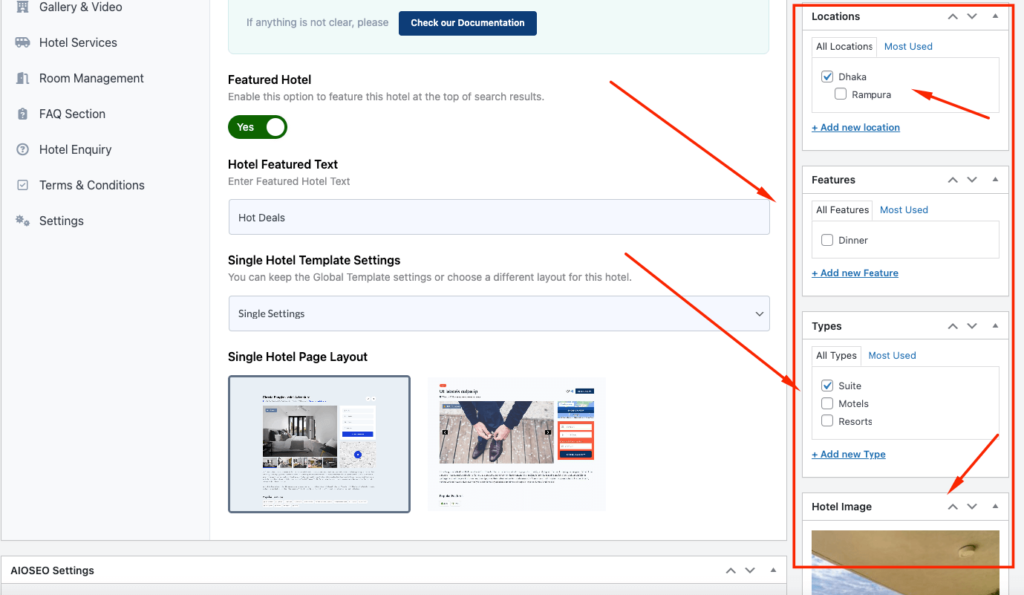
You can choose your location from the “All Locations” section. Or if it’s a well-known tourist spot, you might easily find it in the “Most Used” part.
You can use the “+Add new location” button when your location isn’t listed. Click on it and type in your location. Press enter and the location will be added and selected at the same time. Click here to learn more.
Features
This section helps you highlight the different features your hotel boasts. It also has “All features” for you to choose from and “Most used” if you’re looking for the obvious ones.
From the “+Add new feature”, you can add any feature that was absent from the “All features” list. Type in a feature and press enter to add and select it simultaneously.
Note: You can create sidebar filters by features by adding widgets to archive pages – Check here
Types
Select the types that apply to the hotel. This encompasses many different properties, depending on the listing’s nature. So, you can sneak in a few USPs (Unique Selling Points) here, such as Online Payment or Fully refundable.
As always, there are “All types” and “Most used” to help you out and the option to add entirely new types if need be.
Note: You can create sidebar filters by type by adding widgets to archive pages – Check here
Featured Image
The image you add here will be the focal image of the hotel in the front end.
Backend View

