Table of Contents
Google reCAPTCHA is a powerful feature that adds an extra layer of security to your Contact Form 7 forms. It effectively prevents spam and bot submissions by using advanced algorithms to differentiate between human users and automated bots. By integrating reCAPTCHA, you ensure that only legitimate submissions are processed, safeguarding your website from malicious activities while maintaining a smooth user experience.
Benefits of Google reCAPTCHA #
- Human Verification: Google reCAPTCHA differentiates between human users and bots, preventing fraudulent submissions.
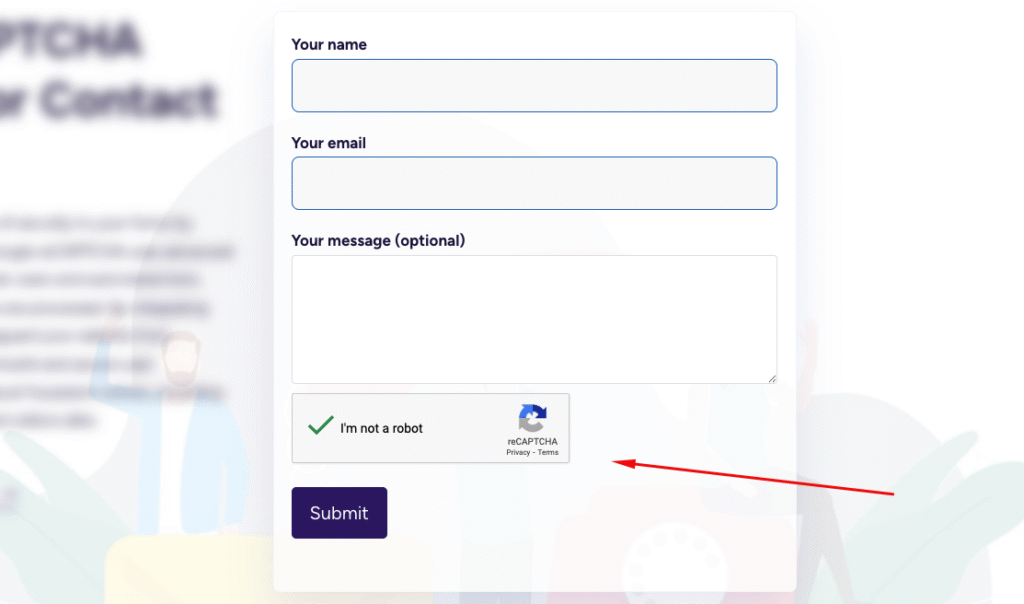
- User-Friendly & Flexible: Choose the classic “I’m not a robot” checkbox for easy verification.
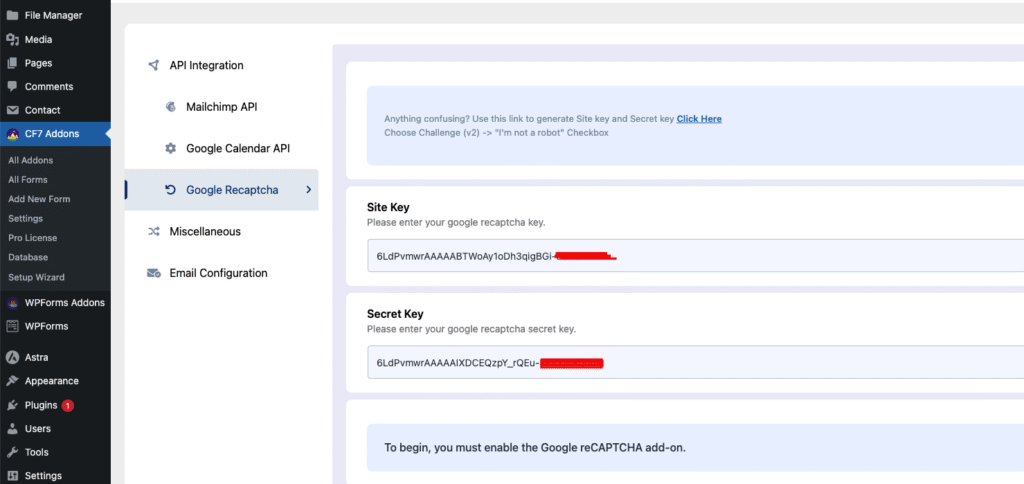
- Easy Implementation: Simply enter your Site Key and Secret Key in the settings to integrate reCAPTCHA into your forms.
- Spam-Free Forms: Block automated submissions and ensure only legitimate user entries.
How to Set Up Google reCAPTCHA #
- 1. Google reCAPTCHA API Integration
- Visit the Google reCAPTCHA Admin Console.
- Register your website, select reCAPTCHA v2 and choose the “I’m not a robot” checkbox.
- Enter your site’s domain (without
https://or any path) to whitelist it. - After registration, you’ll receive a Site Key (frontend) and Secret Key (backend). Save these keys for later use.
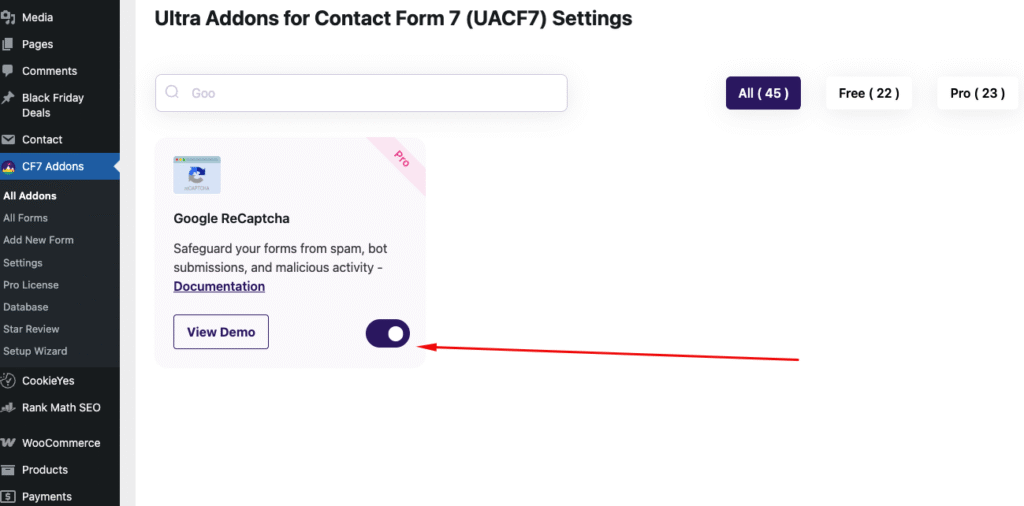
- 2. Enable Google reCAPTCHA for All Forms
- Go to CF7 Addons > All Addons in your WordPress dashboard.
- Search for Google reCAPTCHA and click Enable. This will activate reCAPTCHA across all your Contact Form 7 forms.
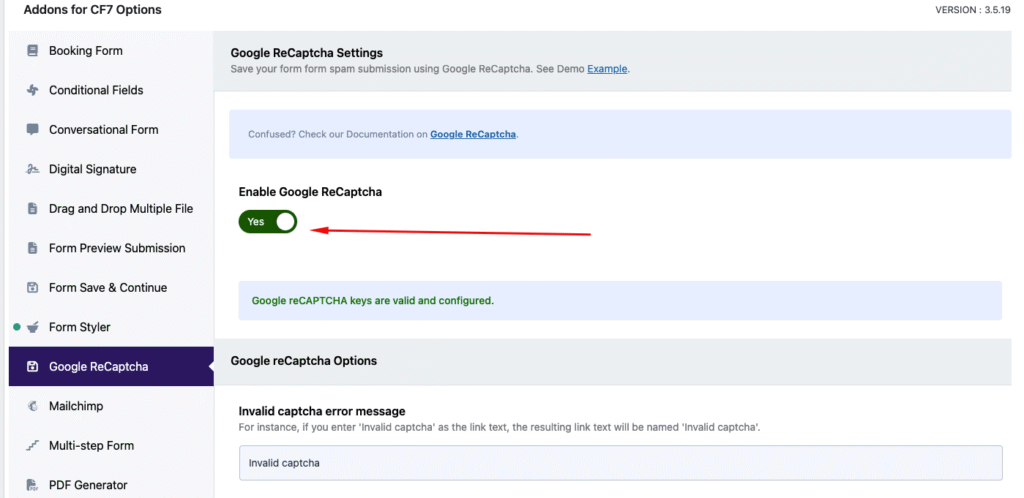
- 3. Use Google reCAPTCHA in Your Form
- Once reCAPTCHA is enabled, go to the Contact Form 7 editor.
- Scroll to the settings section for Ultra Addons for Contact Form 7.
- Locate the Google reCAPTCHA settings and enable it for the desired form.
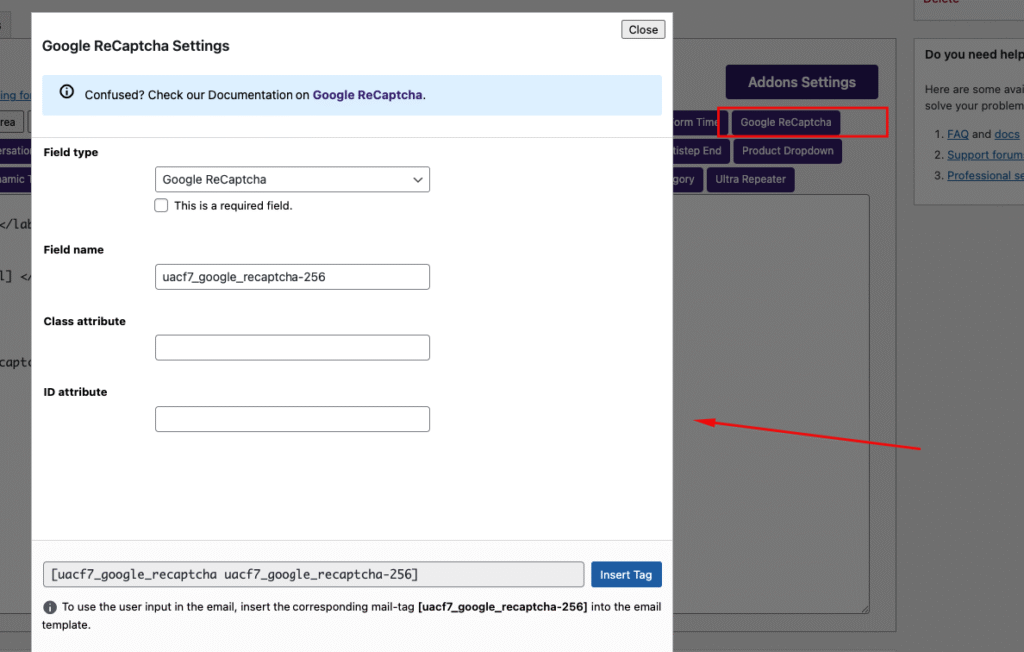
- 4. Google reCAPTCHA Tag
- In the Contact Form 7 editor, generate the Google reCAPTCHA tag from the Tags section.
- Insert this tag anywhere in the form to enable reCAPTCHA protection.