PDF generation is an essential feature for Contact Form 7, allowing you to save, view, and download form submissions as PDFs. This functionality is particularly useful for creating invoices, generating receipts, or storing form entries for future reference.
With this feature, users can automatically generate a PDF upon form submission, ensuring that all form data is securely stored and easily accessible. The generated PDF can also be customized to include branding, formatting, and specific details tailored to your needs.
Whether you’re using it for business invoices, application forms, or confirmation receipts, PDF generation adds a professional and structured way to handle form submissions.
Video Guide #
What is a PDF Generator for Contact Form 7? #
The PDF Generator for Contact Form 7 is an addon that automatically generates a PDF document from form submissions and attaches it to emails or allows users to download it instantly. This feature is useful for invoices, receipts, registration confirmations, certificates, agreements, or any document that needs to be formatted as a PDF.
- Automatically Generate PDFs – Converts form submission data into a formatted PDF file.
- Customizable PDF Templates – Design the PDF layout with custom text, branding, and dynamic form fields.
- Attach PDFs to Emails – Send the generated PDF with admin and user email notifications.
- Instant PDF Download – Allow users to download the PDF after submission. (Pro)
- Supports File Upload Fields – Include uploaded images, documents, or signatures in the generated PDF.
- Save PDFs to Server – Store PDFs in your WordPress directory for later access.
- Compatible with multi-step forms – Generate PDFs even for complex multi-step submissions.
- Secure & GDPR-compliant – Control PDF storage and restrict access for data privacy.
What’s needed #
- Ensure that both Contact Form 7 and Ultra Addons for Contact Form 7 are installed on your WordPress site.
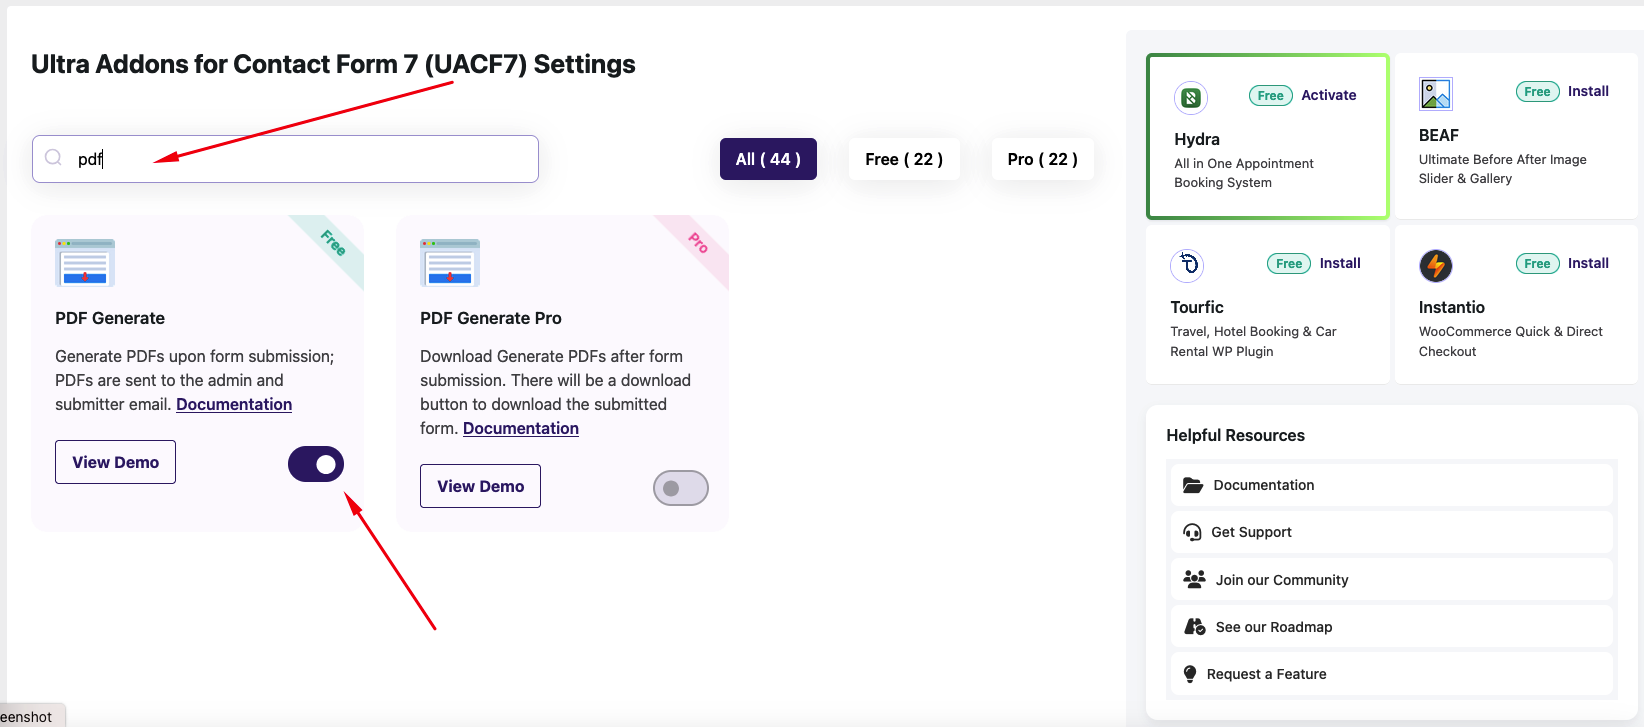
- Navigate to Ultra Addons > All Addons in your WordPress dashboard and enable the “PDF Genrate” checkbox/toggle.
How to Add the PDF Generator to a Contact Form 7? #
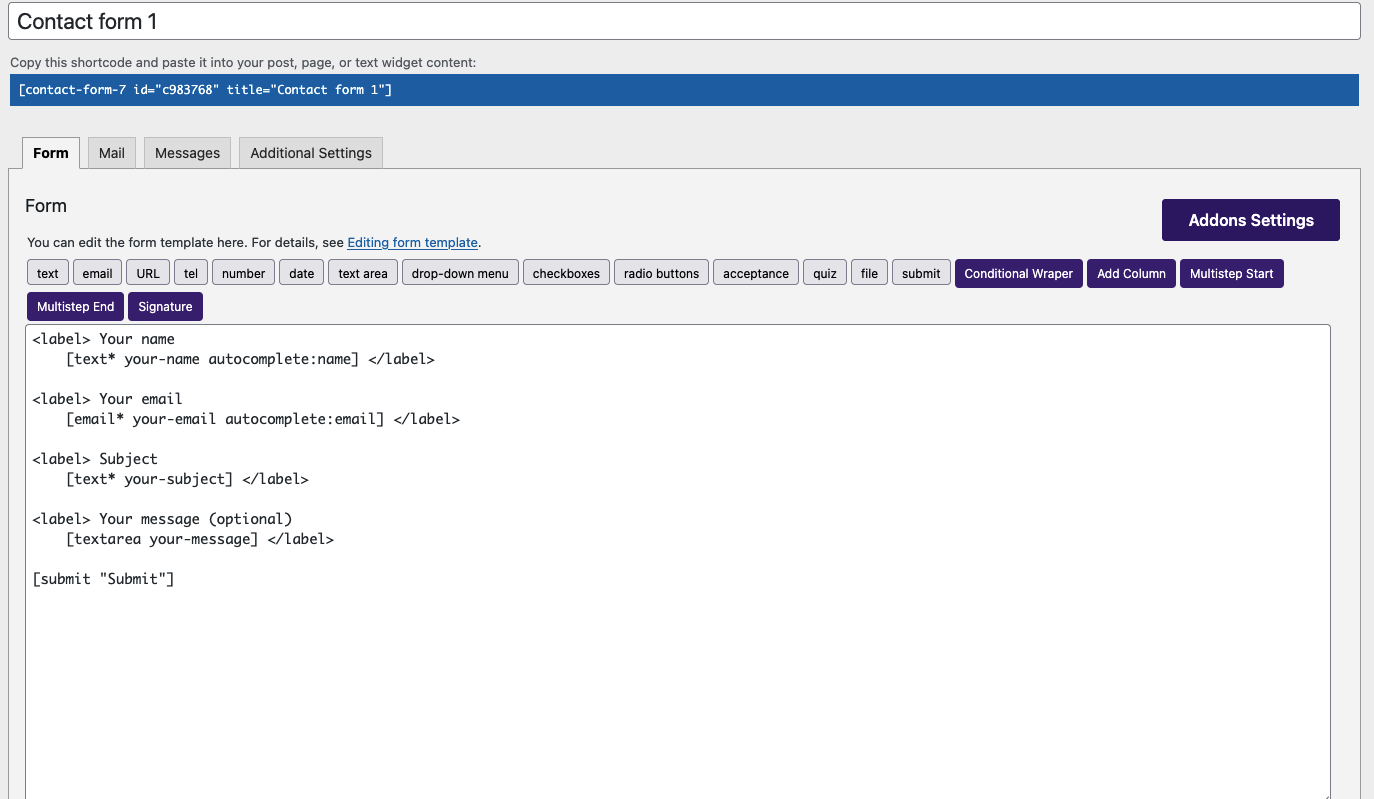
Step 1: Create your desired contact form #
Before taking about the settings and the PDF Generation feature, the first step is to create a Contact Form 7 form according to your requirements.
For simplicity, I will use a basic contact form in this demonstration. However, you can customize the form to fit your specific needs, whether it’s for invoices, order confirmations, application forms, or registration submissions.
Once your form is set up, we can proceed to enable the PDF generation feature and configure its settings to automatically generate and download PDFs upon form submission.
Step 2: Customize the PDF Generator Settings #
After creating your desired form, go to Ultra Addons for CF7 Options > PDF Generator and enable the “PDF Generator” option by toggling the button on. This step is essential, as the PDF generation feature will not work unless this option is activated.
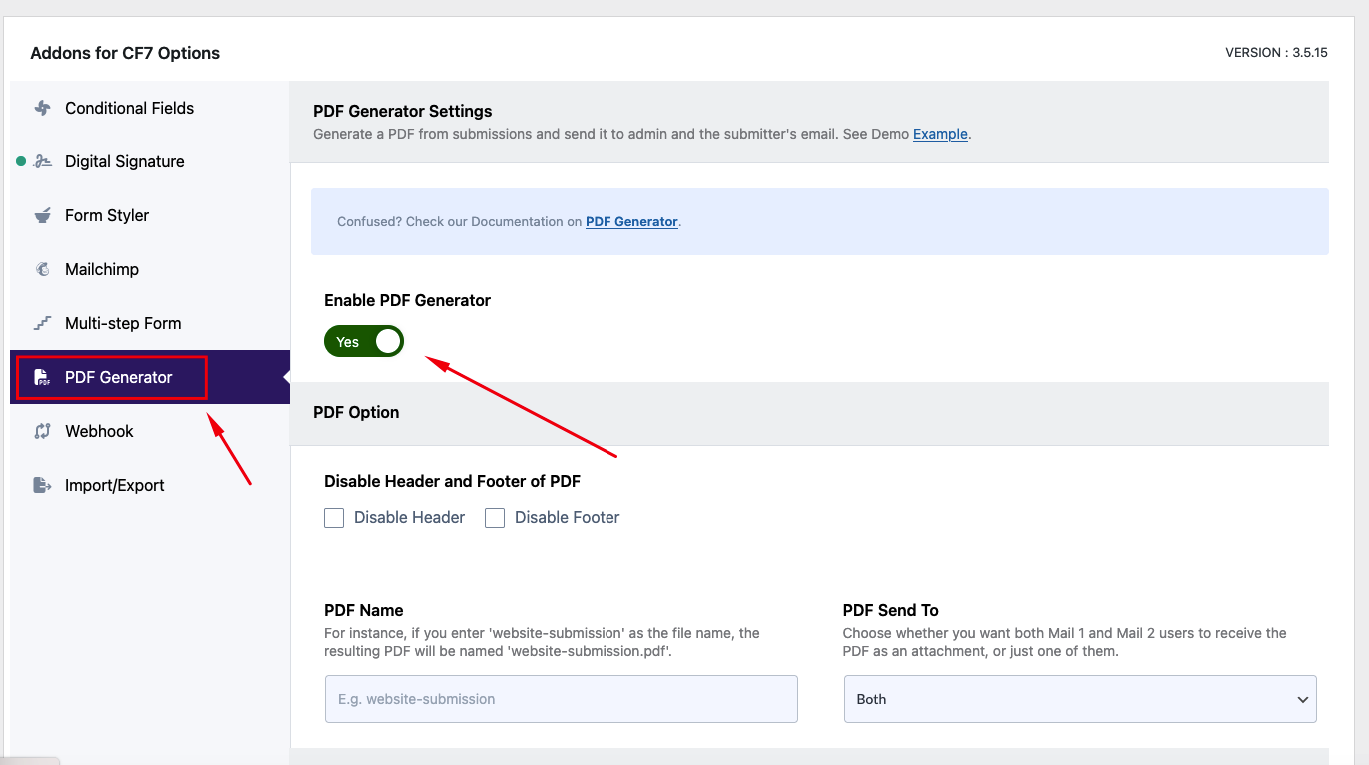
After activating the PDF Generator option, several settings will appear that allow you to customize how the generated PDF will look and function. Let’s go through each setting in detail to understand how to optimize your PDF generation process.
Disable Header and Footer of PDF #
This option allows you to enable or disable the PDF header and PDF footer according to your preferences. You can choose to disable both, keep only the header or footer, or enable both for a more structured document.
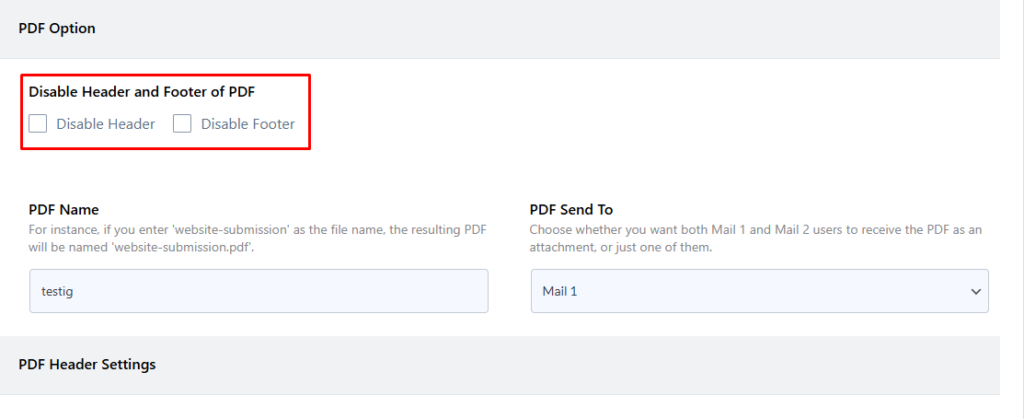
PDF Name #
This option allows you to specify the name of the generated PDF file. You can define a custom file name to ensure consistency and better organization when saving or sharing the document.
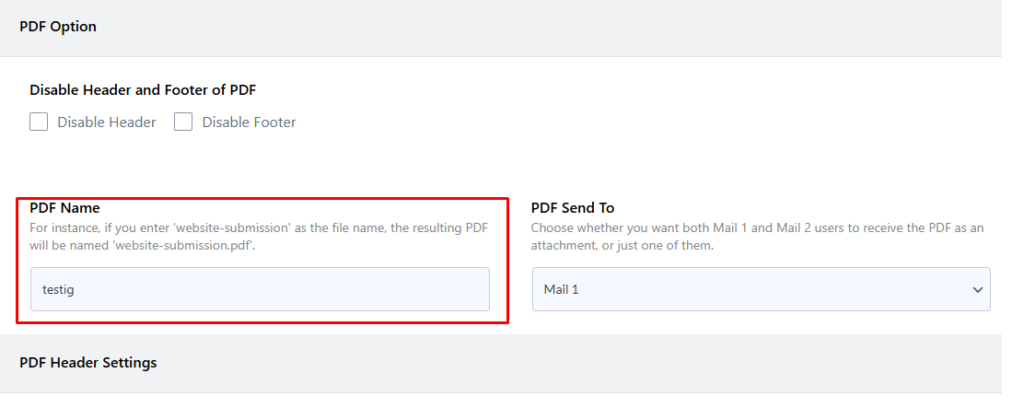
PDF Sent To #
This option allows you to specify the recipient email address for sending the generated PDF. You can choose to send the PDF to Mail 1, Mail 2, or both, depending on your requirements. This ensures flexibility in delivering the PDF to the appropriate recipients based on your email notification settings.

Then it’s time to customize the PDF header settings.
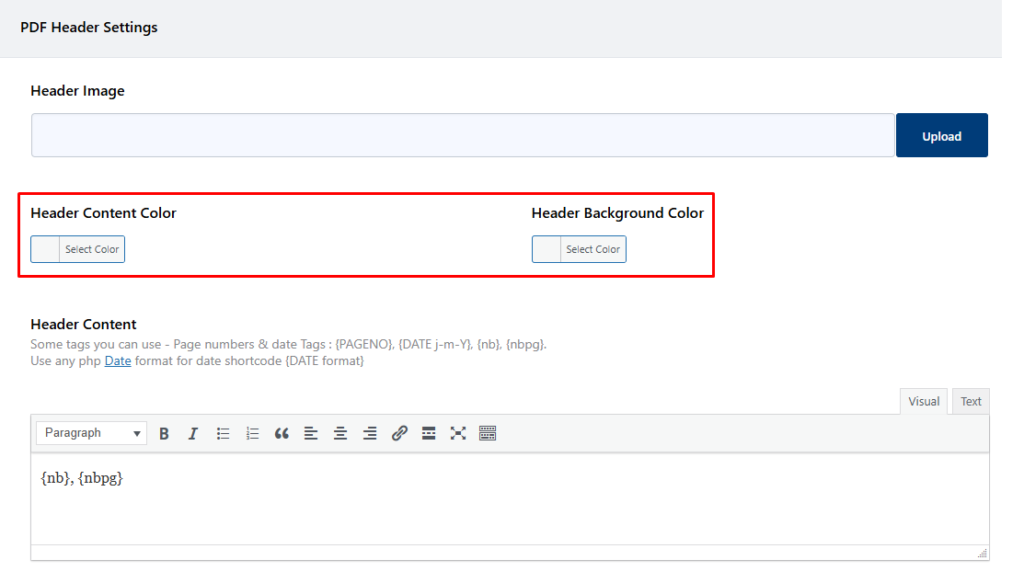
Header Image #
Using this option, you can specify the header image or logo for the PDF. This option allows you to set a header image or logo for the generated PDF. You can upload a custom image, such as your brand logo or company banner, to appear at the top of the PDF.

Header Content Color #
This option allows you to customize the font color of the PDF header content. You can choose a color that aligns with your brand identity to ensure consistency in the document’s appearance.
Header Background Color #
This option allows you to customize the background color of the PDF header.
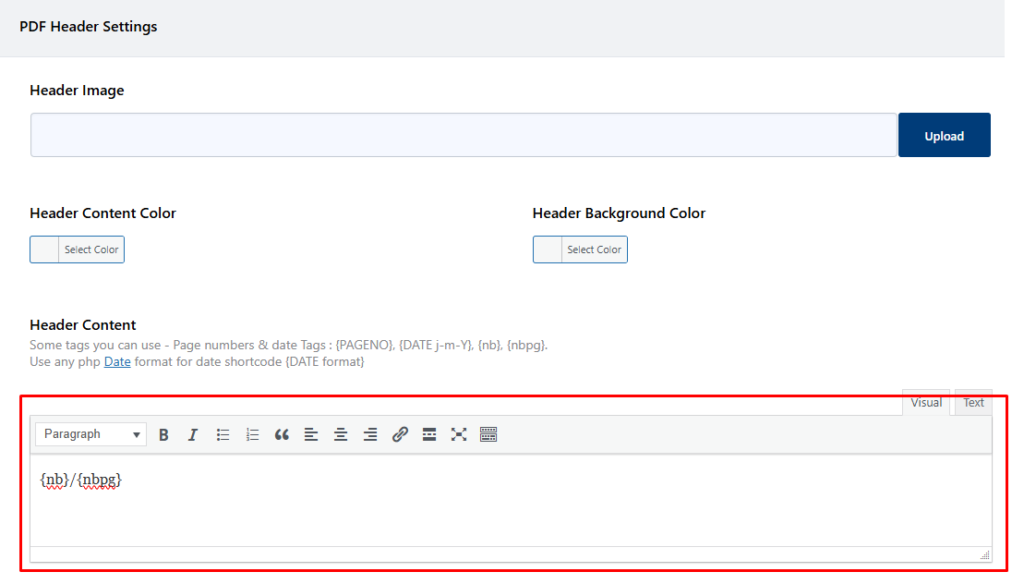
Header Content #
This option allows you to customize the header content of the generated PDF. A text field is provided where you can enter any formatted text, such as your company name, tagline, or custom message. Additionally, you can include dynamic tags like:
- {PAGENO} – Displays the current page number.
- {DATE j-m-Y} – Shows the current date in the specified format. You can use any date format supported by PHP to further customize the header content based on your needs.
- {nb} – Represents the total number of pages.
- {nbpg} – Displays the total number of pages, with formatting.
Body Background Image #
This option is same as header image, you can add the body background image using this option. The body background image will work as a watermark in your PDF.
Body Content Color #
Using this option, you can add body content color same as like the header content color.
Body Background Color #
Using this option, you can add body background color same as like the header background color.
Body Content #
This option allows you to add body content that will appear in the generated PDF. You can include any type of text, including formatted text, custom messages, or additional instructions.
Additionally, you can use form tags, which will be dynamically displayed below the text area. These tags allow you to insert form submission data into the PDF automatically. You can simply copy and paste the required form tags into the content area to personalize the document based on user input.

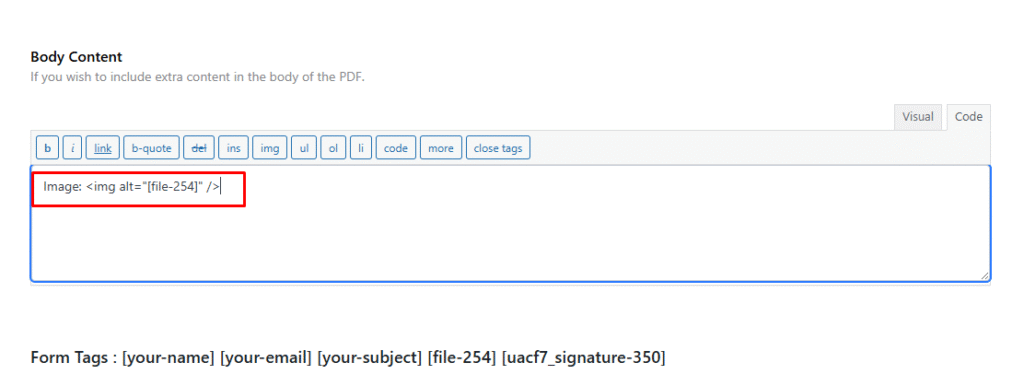
Display an image in the PDF content #
To display images (such as logos or signatures) in the generated PDF, you need to include them using the standard <img> HTML tag. This method works for any image, including user-uploaded signatures.
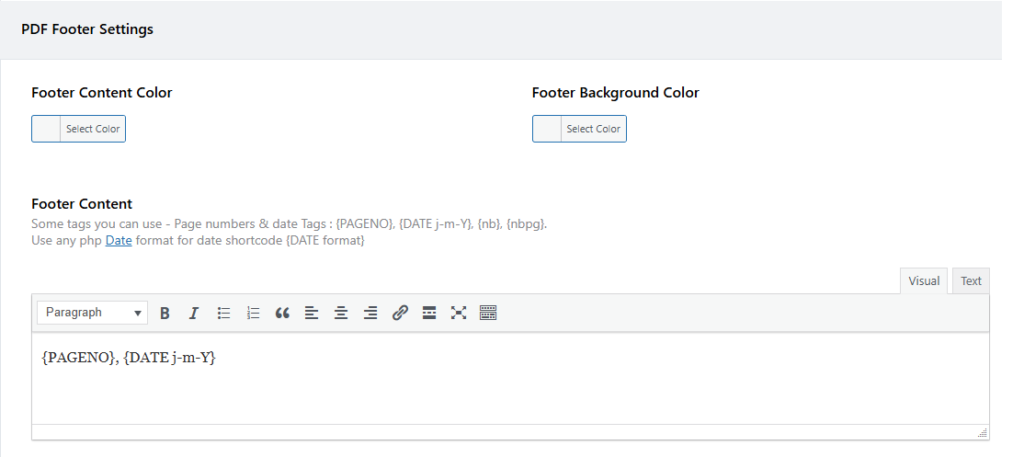
PDF Footer Settings #
After configuring the PDF Header and PDF Body settings, you will find a section called PDF Footer Settings. The footer settings function exactly the same as the PDF Header Settings, with the only difference being their placement in the document.
While the PDF Header appears above the PDF Body, the PDF Footer is displayed below the body content. This allows you to add relevant details, such as page numbers, copyright notices, disclaimers, or company contact information, at the bottom of the generated PDF.
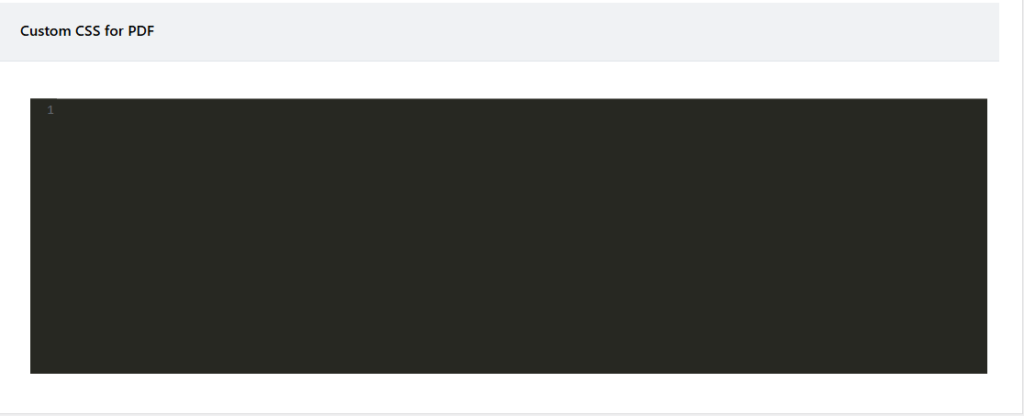
Custom CSS for PDF #
This option allows you to apply custom styling to the generated PDF. You can define custom CSS styles to modify the appearance of the text, layout, font sizes, colors, margins, and other design elements. This feature enables you to create a professionally formatted PDF that aligns with your brand identity and design preferences.
Please note that we use MPDF to generate PDFs from your form data. However, MPDF has some limitations when it comes to advanced PDF styling. Certain some CSS properties may not be fully supported.
To ensure proper formatting, please refer to the supported styling options for MPDF before applying custom styles. This will help you achieve the best possible design while staying within the limitations of MPDF. [MPDF Supported CSS]
With the customization options mentioned above, you can tailor your PDF to match your specific needs. Whether it’s adjusting the header, footer, body content, styling, or adding dynamic form tags, these options give you full control over the appearance and structure of the generated PDF. This ensures a professional, branded, and well-formatted document that aligns with your requirements.
Step 3: Test your PDF to check everything #
After customizing all the options, it’s time to test the data and verify that all the provided information is correctly reflected in the generated PDF. Submit a form entry and check if the header, footer, body content, and styling appear as expected. Ensure that dynamic form tags are correctly replacing the placeholder values. If any adjustments are needed, you can go back to the settings and fine-tune them for the perfect output.
Live Example of CF7 Post Submission #
If you want to see how the PDF Generator works in real-time, you can check out our live demo form at the following link. This interactive demo allows you to experience how frontend post submission works.
Click here to test the PDF Generator Addon in action!
Still Not Clear? Please contact us. If you are a free User, you can open a ticket from here. If you are a pro user, you can open a ticket from here.