Zoho CRM is a cloud-based customer relationship management (CRM) platform designed to help businesses manage their sales, marketing, and customer support operations efficiently. It provides tools for tracking leads, managing contacts, automating workflows, and generating insights through analytics.
Now, you can integrate Hydra Booking with Zoho CRM to streamline lead management, automate workflows, and enhance your customer relationship processes.
In this article, I’ll guide you step by step on how to connect Hydra Booking with Zoho CRM for seamless integration.
Let’s dive into it.
How to Integrate Hydra Booking with ZohoCRM? #
Step 1: Get the ZohoCRM Client ID and Secret #
First of all you need to log in to your Zoho account from here.
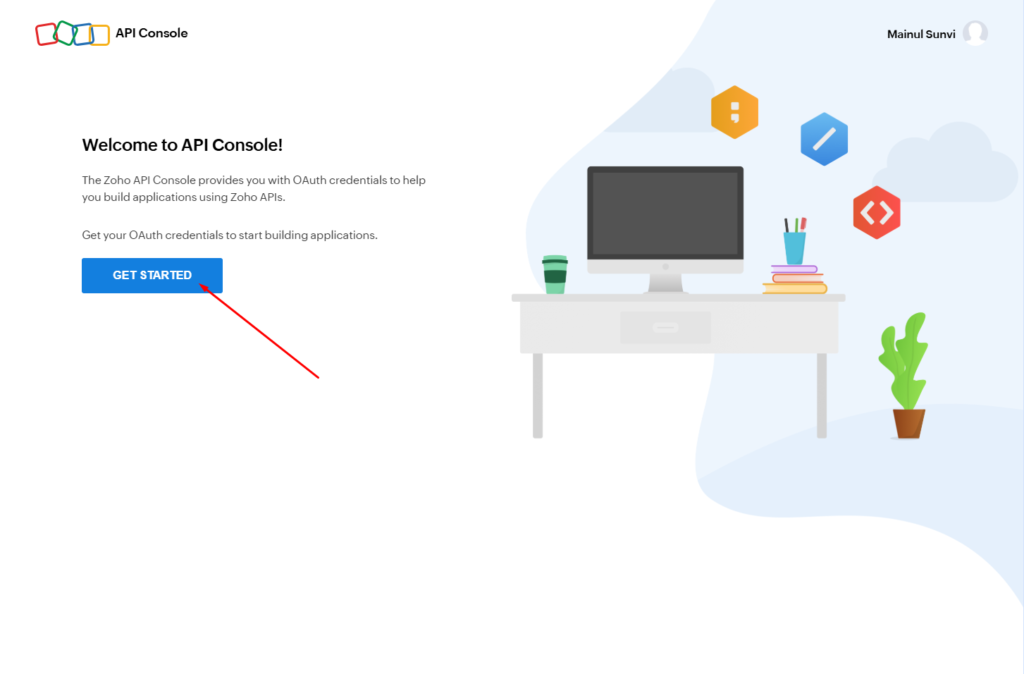
Once you’ve successfully logged in, go to this Zoho API Console Link, and click on Get Started button.
Now, locate the Server-based Applications section and click on the Create Now button to create a new application.
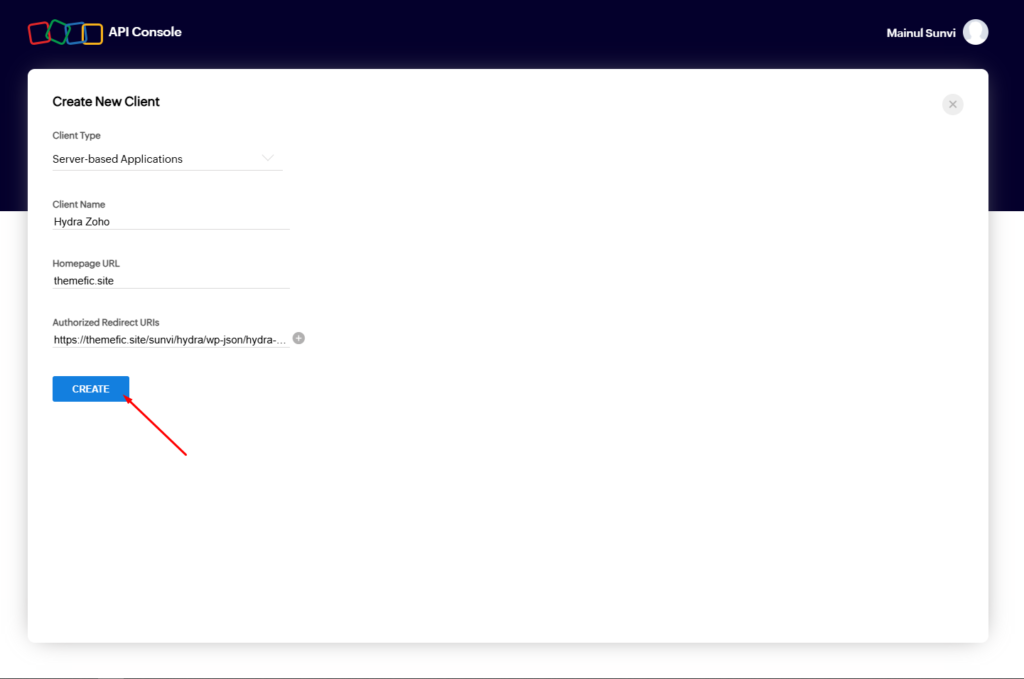
- Client Name: Enter the name of your client. You can use any name here. For this demonstration, I am using “Hydra” as the name.
- Homepage URL: Specify the homepage URL of your website. For this demonstration, my homepage URL is “themefic.site”.
- Authorized Redirect URIs: Enter the popup authorized redirect URL. You can find this by navigating to Hydra Booking > Hosts, editing your desired host profile, then going to Integrations > Zoho, and copying the Zoho Redirect URL.
Please note: To obtain the authorized redirect URL, you’ll need to enable the ZohoCRM integration in the settings. We’ll cover this in Step 2.
Here is my client data. After filling in all the required fields properly, click on the Create button to create a client.
After clicking the Create button, a Client ID and Client Secret ID will be generated. Copy these credentials, as they will be needed to generate the access token from Hydra Booking.
Step 2: Configure Hydra Booking Setting #
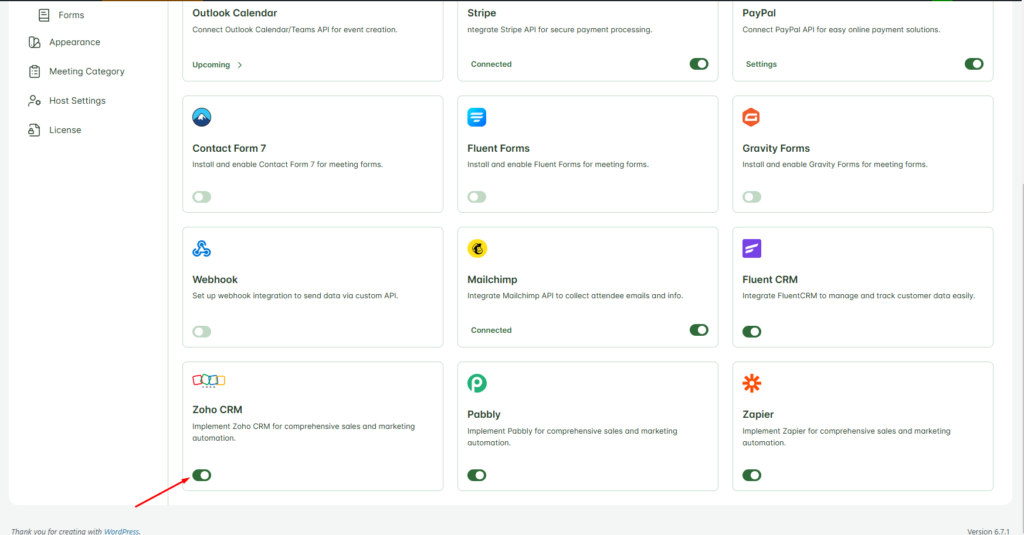
After obtaining the Client ID and Client Secret ID from ZohoCRM, now navigate to Hydra Booking > Settings > Integration and locate the Zoho CRM option.
You’ll see a toggle button, turn it on. Enabling this option allows you to use Zoho CRM for your meetings.
Step 3: Configure the Host to get Access Token #
After enabling the Zoho CRM setting, navigate to Hydra Booking > Hosts, edit your desired host, then go to Integrations > Zoho, and click the Connect button.
A popup will appear with several fields. Enter the Zoho Client ID and Zoho Client Secret that we generated in Step 1.
After filling in the information correctly, click the Save & Validate button to save the host settings.
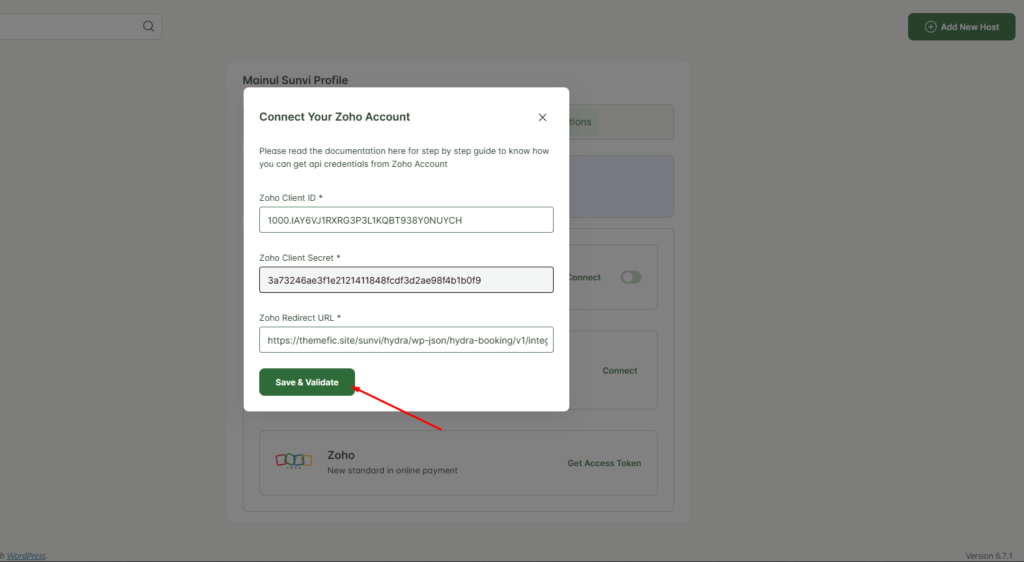
After saving the settings, you’ll see a new option called Get Access Token. Click this button to generate an access token for Zoho. A new page will open—simply click the Accept button to proceed.
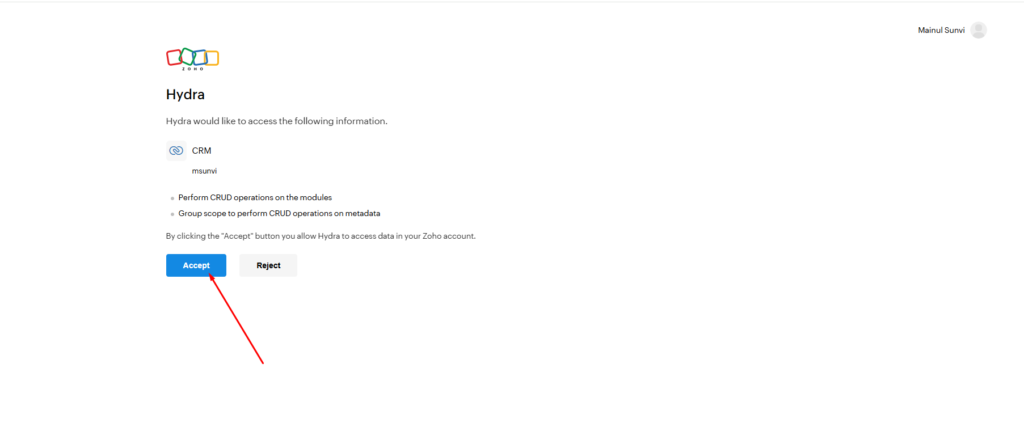
You will now be redirected to the Hosts Integrations page. Congratulations! You’ve successfully generated an access token for Zoho.
Step 3: Configure the Meeting for Zoho Integration. #
Comming Soon!
