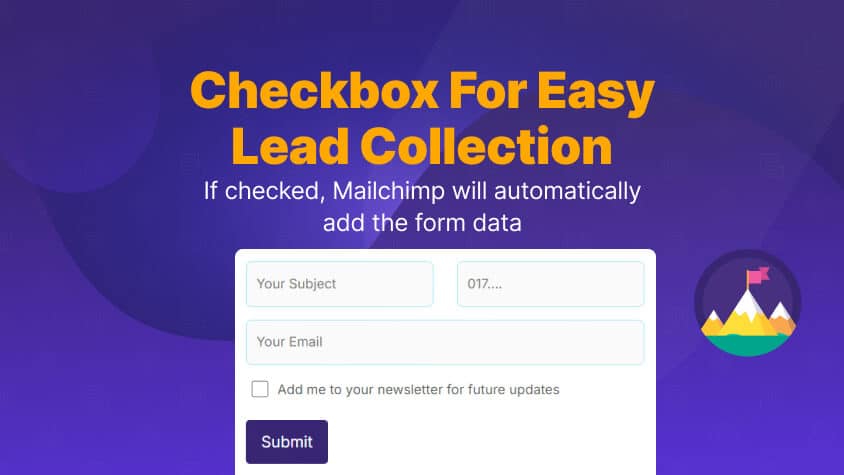
Integrating Mailchimp with Contact Form 7 is an excellent way to automate your lead-generation process and grow your email list effortlessly. With the help of the Ultimate Addons for Contact Form 7 (UACF7) plugin, you can set up Mailchimp integration, allowing you to collect and manage leads directly from your website’s forms. One key feature of this integration is the ability to add an acceptance checkbox, ensuring GDPR compliance by giving users the option to opt-in to your mailing list.
In this blog post, we’ll walk you through how to connect Mailchimp with Contact Form 7 using the Ultimate Addons plugin, and how to set up a consent-based acceptance checkbox for smooth and compliant lead collection.
Why Integrate Mailchimp with Contact Form 7?
Connecting Mailchimp with Contact Form 7 via the Ultimate Addons plugin offers numerous benefits. It streamlines the process of capturing form submissions and automatically adding them to your Mailchimp email lists. With the addition of an acceptance checkbox, you ensure that user data is collected with consent, adhering to GDPR and other data privacy regulations.
Key Benefits:
- Automated Lead Collection: Submissions from your Contact Form 7 forms are added directly to your Mailchimp lists.
- GDPR Compliance: The acceptance checkbox ensures that users explicitly agree to have their data added to your mailing list.
- Customizable Form Fields: Tailor the form fields to match your Mailchimp list requirements, making data collection seamless.
Step-by-Step Guide: Integrating Mailchimp with Contact Form 7
Step 1: Install Ultimate Addons for Contact Form 7 and Pro Plugin
First, you need to install both Ultimate Addons for Contact Form 7 and Ultimate Addons for Contact Form 7 Pro on your WordPress site. This combination unlocks advanced features, including Mailchimp integration.
- Go to your WordPress dashboard and navigate to Plugins > Add New.
- Search for Ultimate Addons for Contact Form 7.
- Click Install and then Activate the plugin.
- Repeat the same steps for the Ultimate Addons for Contact Form 7 Pro plugin.
Step 2: Activate Your License
Once the plugins are installed, you’ll need to activate your license for full access to pro features.
- Navigate to Ultimate Addons > License from your dashboard.
- Enter the license key provided during purchase and click Activate.
Step 3: Activate API Key in Integration Settings
To connect to Mailchimp, you need to enable API integration within the plugin.
- Go to Ultimate Addons > API Integration Settings.
- Enter your Mailchimp API Key (you can find this in your Mailchimp account under Account > Extras > API Keys).
- Save the settings to complete the connection.
Step 4: Enable the Mailchimp Feature
After activating the license and API key, you’ll need to enable the Mailchimp feature within Ultimate Addons.
- Go to Ultimate Addons > All Addons.
- Find the Mailchimp option and toggle it on.
- This will activate the Mailchimp settings in your Contact Form 7 forms.
Step 5: Create a Contact Form with Mailchimp Integration
Now, you can create or edit a Contact Form 7 form with Mailchimp integration.
- Navigate to Contact > Add New or select an existing form.
- Scroll down to the Mailchimp Integration section.
- Enable both the Mailchimp option and the Mailchimp Acceptance checkbox.
- Save your changes.
Step 6: Add the Mailchimp Acceptance Checkbox
To ensure user consent, add the acceptance checkbox to your form.
- In the form editor, select Mailchimp Acceptance from the form tags list.
- Configure the field settings:
- Field Type: Choose the type of field you want.
- Required: Make the checkbox mandatory for submission.
- Checked by Default: If needed, enable the option to pre-check the box.
- Once you’ve configured the checkbox, click Insert Tag and save the form.
Why You Should Use an Acceptance Checkbox
The Mailchimp Acceptance checkbox is essential for ensuring compliance with GDPR and other data privacy laws. It provides users with the ability to opt-in to your email list, ensuring that their data is collected with their explicit consent. This builds trust with your audience and ensures that your email marketing practices are transparent and ethical.


